Supplies Needed:
Sandpaper (light grit)
Glue (we suggest CA+ glue, but any type of resin adhesive, or super glue or Crazy Glue will work)
Primer
Model Master Aluminum Spray Paint
Gloss Black Paint
White Paint
Gray Paint
Light Green Paint
Silver Blue Paint
Drill
1/2" or 1/4" Drill Bit
1/16 Drill Bit
1/2" or 1/4" Wood Dowel
Saw
X-Acto Knife
2 Small Screws for the Sight
(Please note, the colors I chose are based on my sense of the colors used in the show. They are not 100% accurate and you may know, or find a better color or paint to use. If so, please let me know, and I will update it on this page.)
|
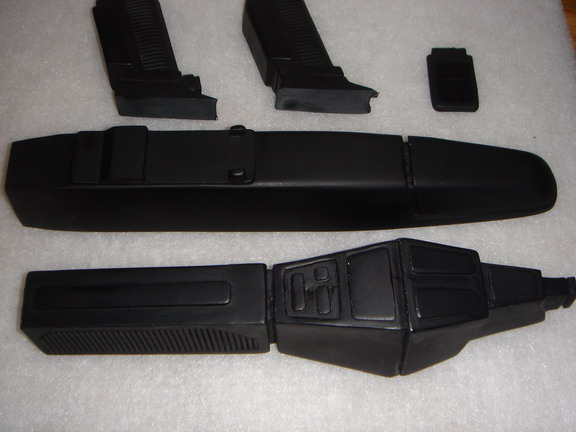
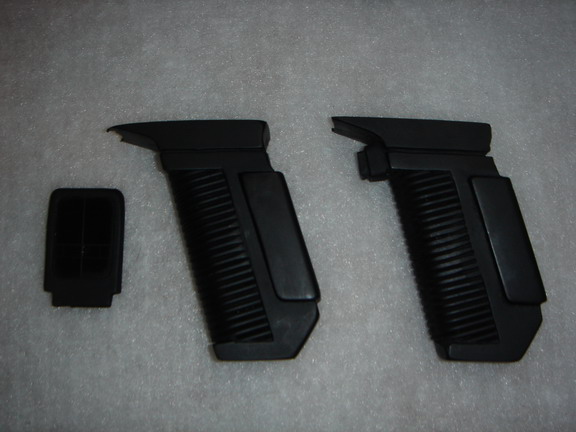
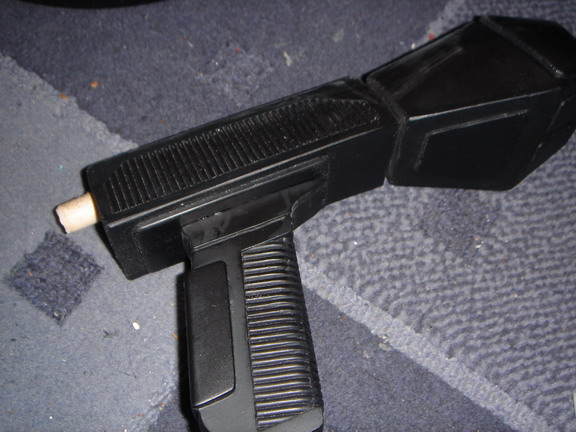
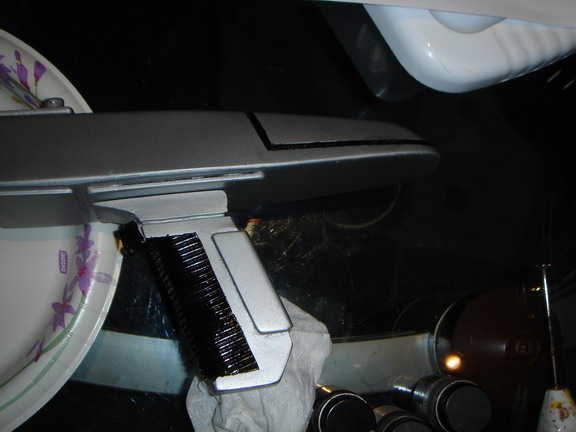
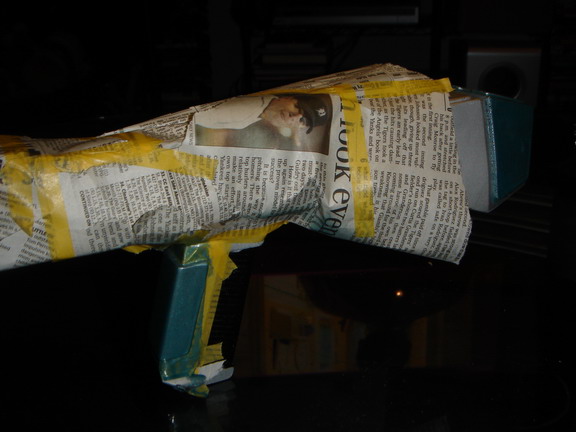
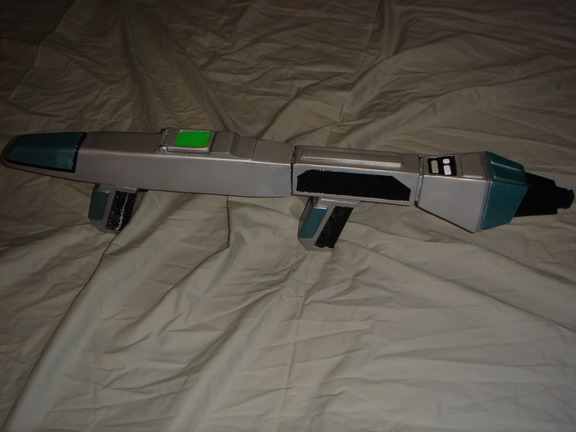
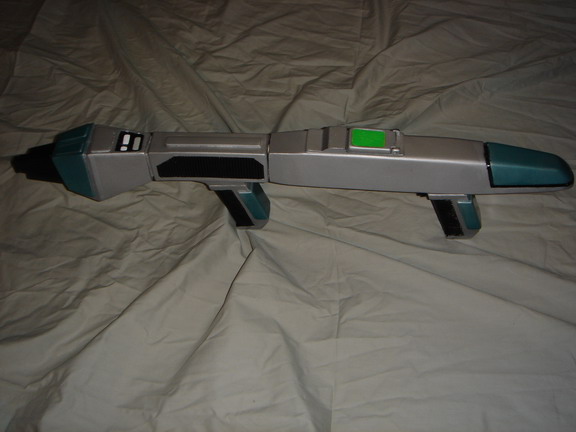
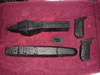
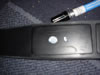
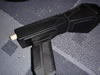
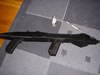
Here's what you get with the kit. The Front Body, Rear Body, Trigger Grip, Fore Grip and Sight. |
 |
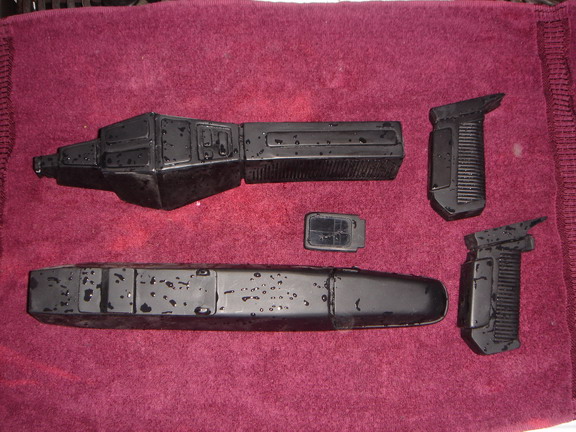
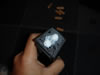
Wash all parts in warm, soapy water and let air dry. |
|
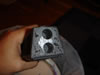
Lightly sand all parts and clean up the seam lines.
If there are any air bubbles or imperfections on the kit, fill with Model Putty and when dry, sand smooth. Be sure to sand the kit in a well ventilated area as resin dust may be harmful. |
|
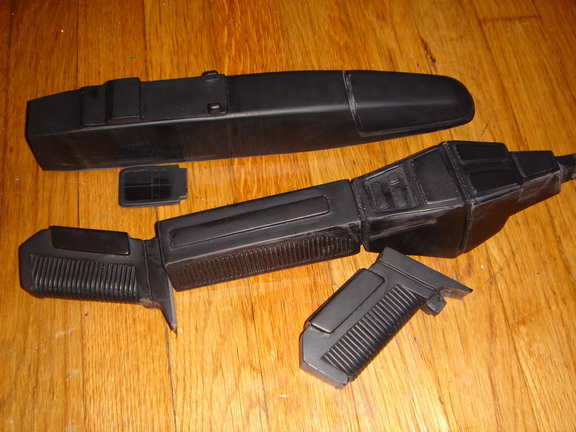
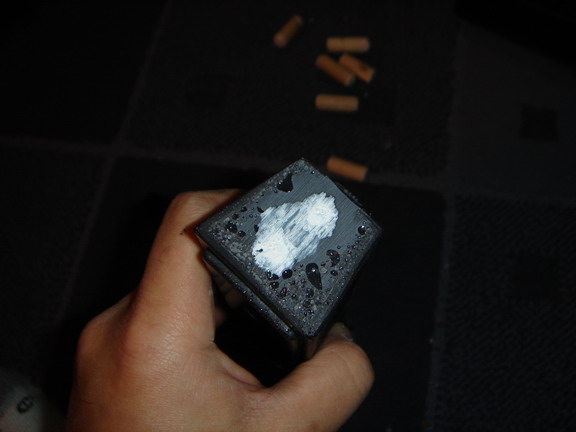
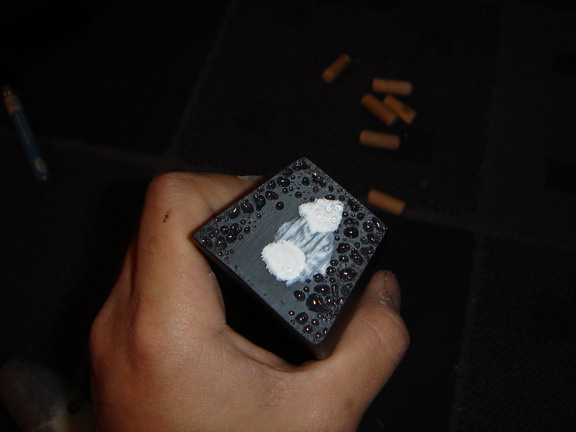
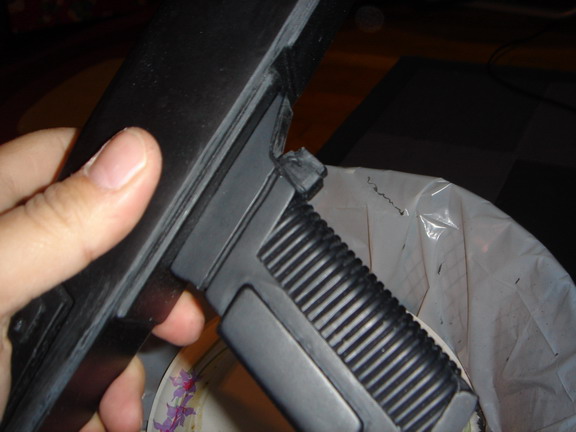
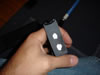
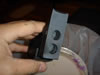
Now it’s time to start the assembly. Even if you just plan to display this prop, you really should put in the extra effort to pin it together to give it the extra strength it needs. It doesn’t take a lot of time, but it will make a huge difference. First you need to figure out where to drill the holes for the wood dowels to fit into. I took the Front Body, and put 2 dabs of paint on the part that connects to the Rear Body, then pressed the Front and Rear Bodies together so that the paint would transfer to the Rear Body showing me exactly where they meet up. I then did the same thing for the Trigger Grip, and for the Fore Grip centering them on the rectangle on the bottom of the Front and Rear Body, respectively. |
   |
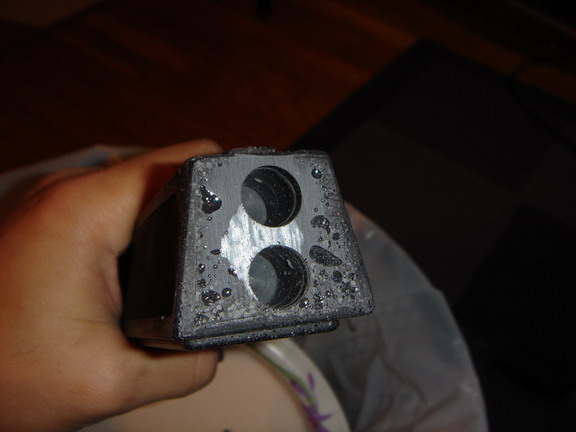
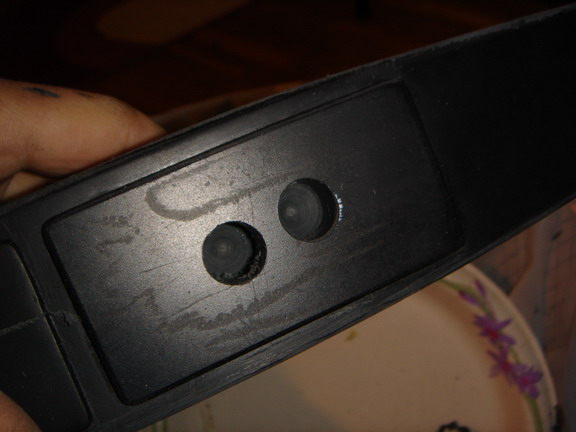
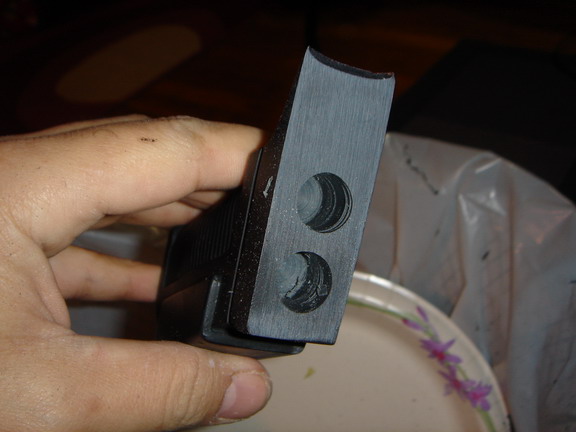
Using a drill bit the same size as your wood dowels (I used ½”, but ¼” would work just fine), drill holes into all the parts about 1” deep. |
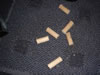 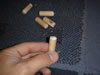 |
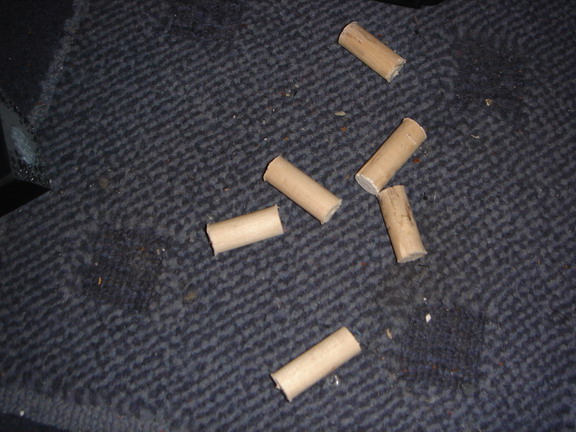
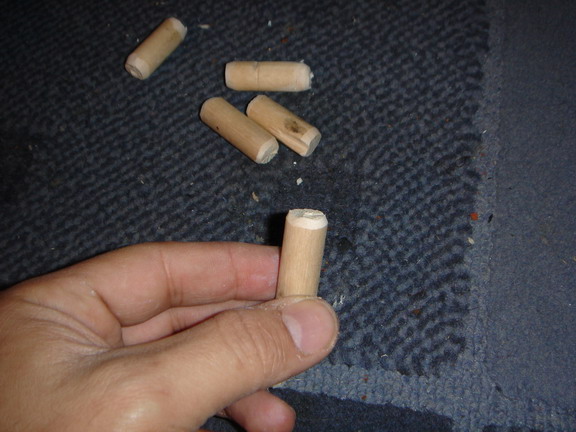
Cut the wood dowel into 1½” - 2” sections (approximately). Be sure to sand the edges a bit to make it easier to fit them into the holes later. |
 |
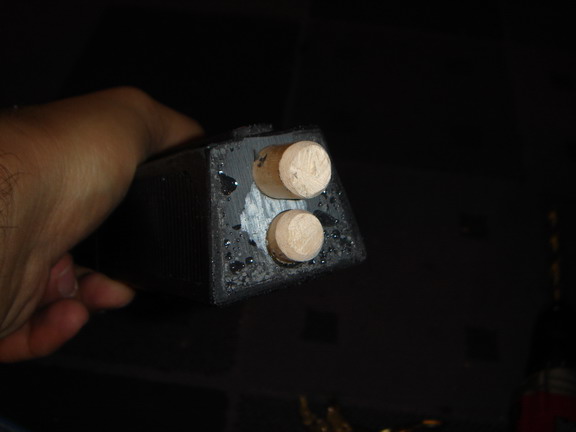
Using the Crazy Glue, glue the wood dowels into the Grips and the Rear Body. Allow to cure. |
 |
Use and X-Acto Knife to score up the areas where the Grips will attach to the Body, and where the Front and Rear Bodies will attach to each other. The scoring will help the glue secure the parts better. |
    |
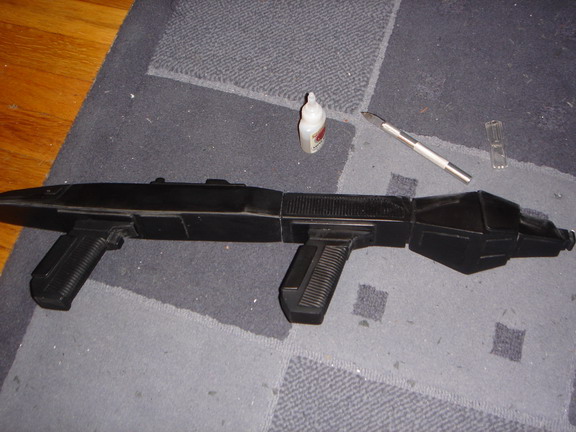
Crazy Glue the other ends of the wood dowels and insert them into the holes. Be sure to press them in hard, and keep them clamped in tightly until the glue cures. Glue each part one at a time.
If needed, use hobby putty to fill any gaps in the seams where the parts connected. Allow it to dry, then sand it smooth. |
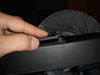   |
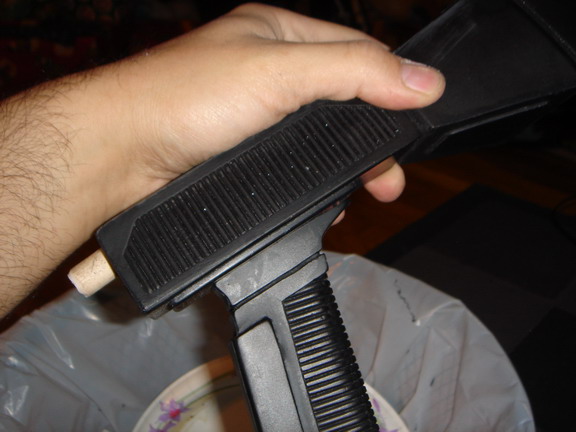
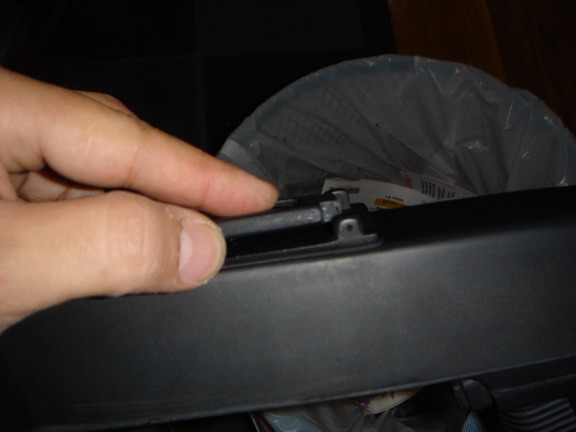
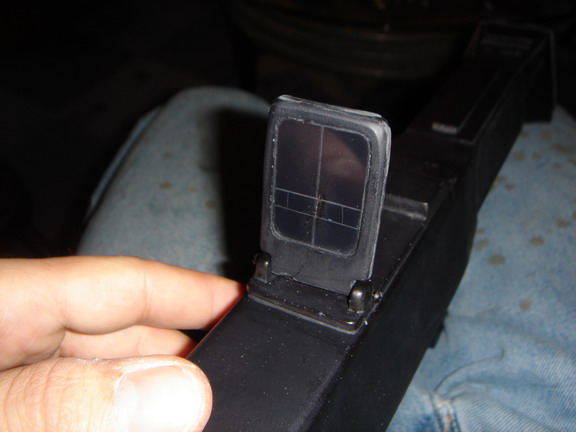
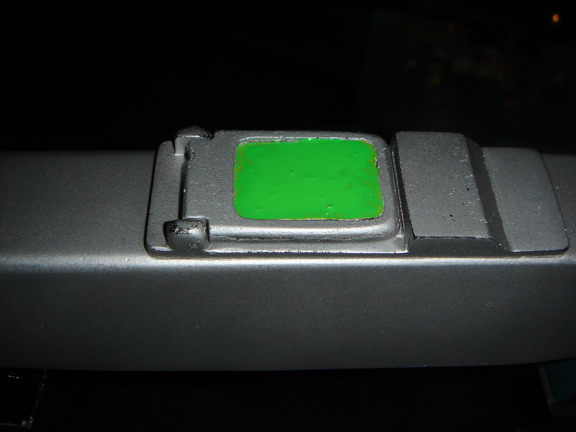
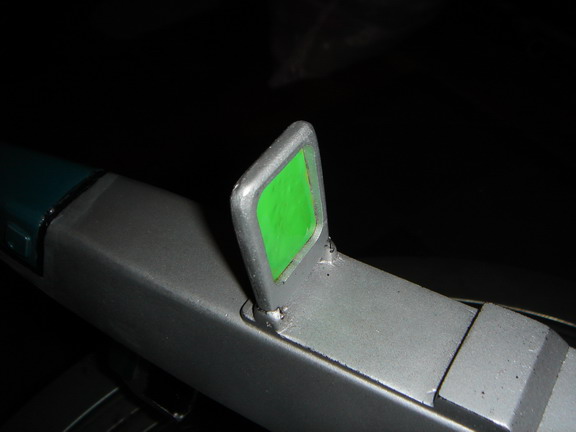
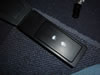
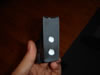
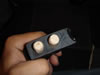
Set the Sight in place on the top of the Rear Body. Be sure to raise it about 1/16 ” from the body to give it enough room to flip up. Using the small drill bit, drill a hole in each side where the screw will later go to hold it in place. |
|
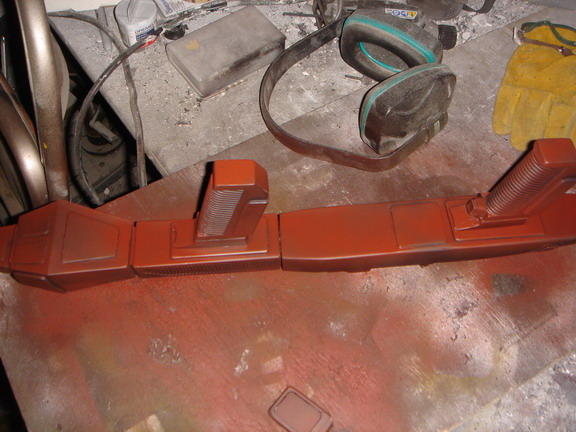
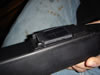
Prime all parts. Be sure to paint ONLY in a well ventilated area. Allow paint to thoroughly dry. |
|
Paint all parts with the Model Master Aluminum Plate Spray Paint. Be sure to paint ONLY in a well ventilated area. Allow paint to thoroughly dry. After it's dried, spray it with Gloss Clear Coat. Be sure to paint ONLY in a well ventilated area. Allow paint to thoroughly dry. |
|
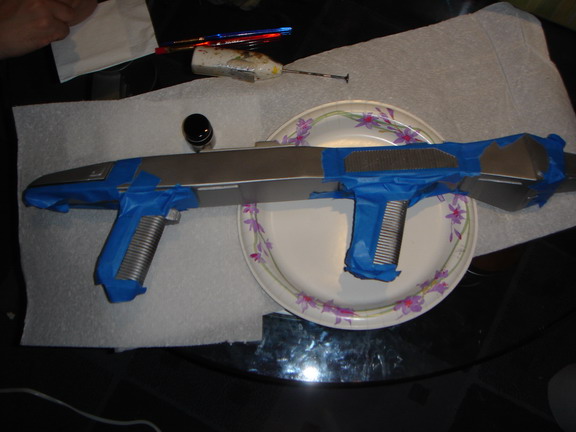
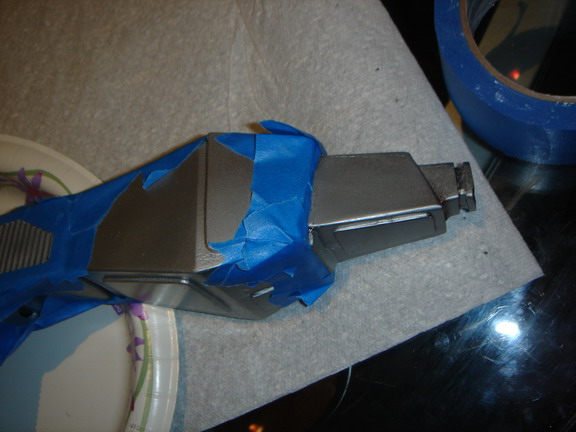
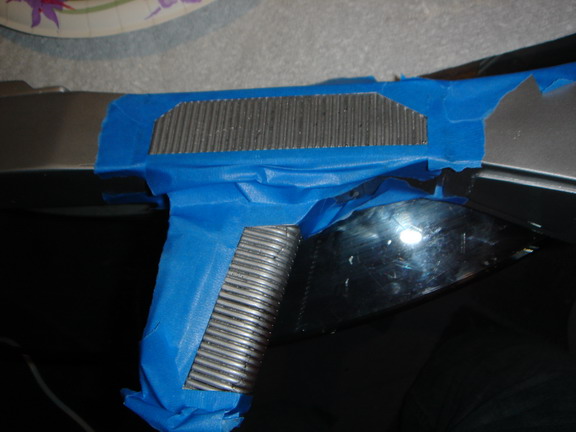
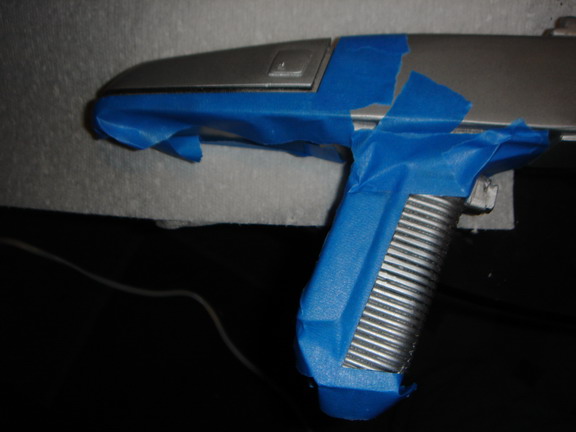
Using painter's tape, mask off the areas on the Grips and the Body that will be painted Black. Paint those areas and allow to dry. Remove the tape.
(Secret note - after applying the painter's tape, if you then paint over it with a clear coat, and allow it to dry, THEN paint on the next color, it will prevent the new paint from bleeding under the tape) |
|
Using painter’s tape, mask off the areas on the Grips and Body that will be painted Silver Blue. Paint those areas and allow to dry. Remove the tape. |
|
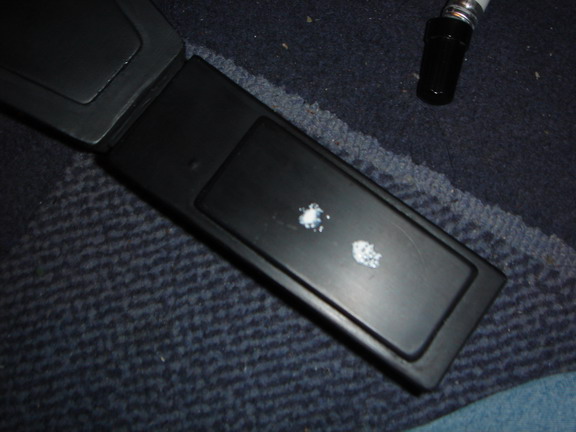
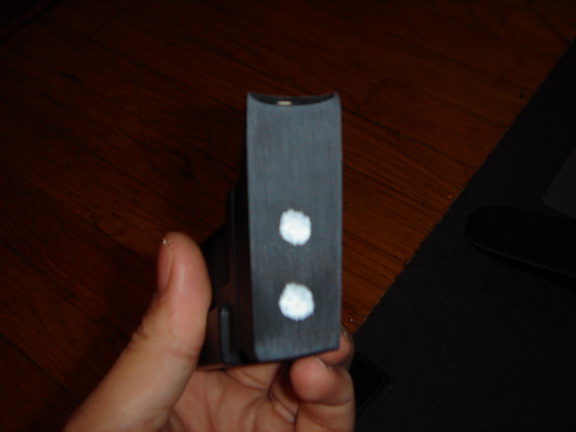
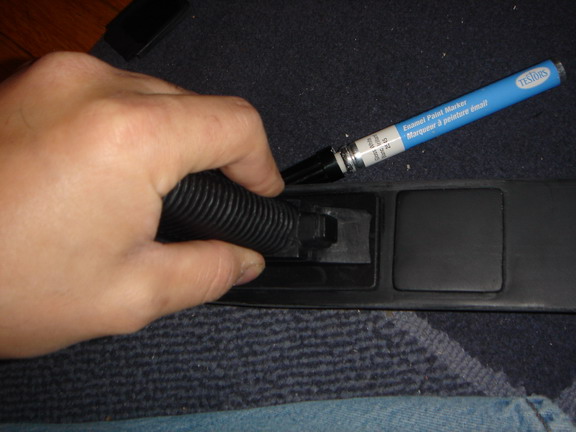
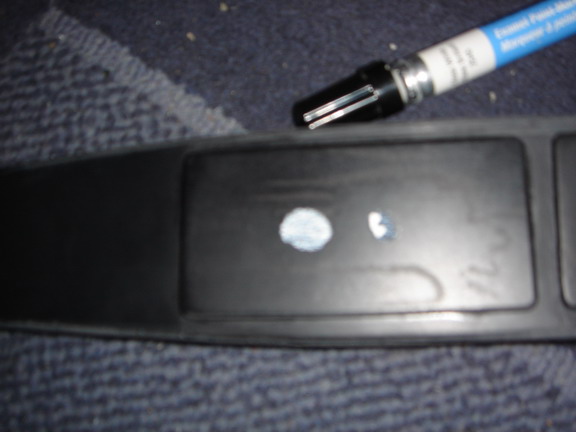
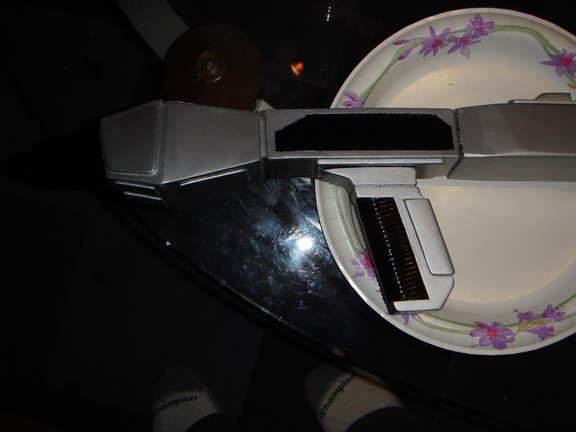
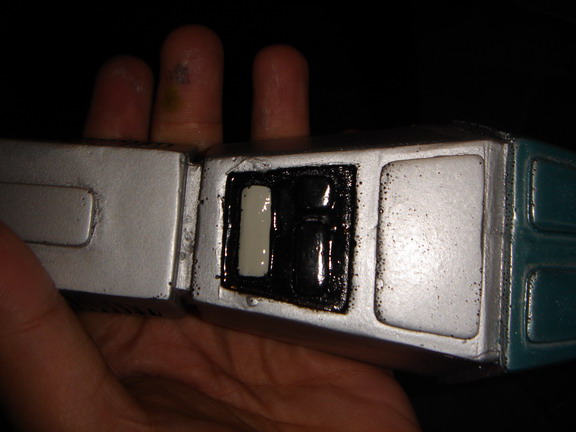
Paint the top 2 buttons on the top of the Front Body White, and the lower button Gray. |
|
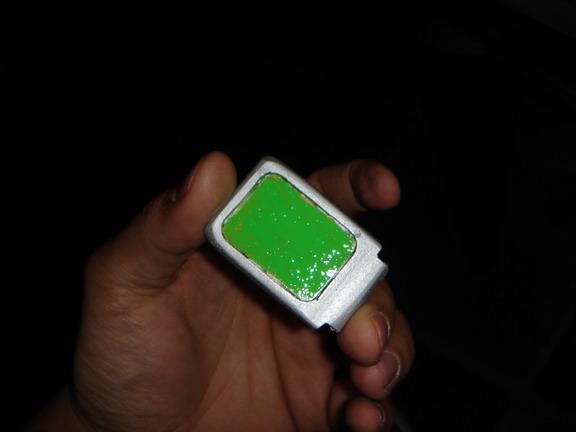
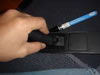
Paint the Sight Green, and allow to dry. |
|
Spray the entire kit once more with Clear Coat to seal all the paint. |
|
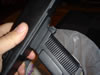
Attach the Sight to the Rear Body with the 2 screws. And you're all finished! |
|
A very simple resin kit that needs just a little clean-up and some paint to make a very nice display piece for every Trek fan!
Star Trek Phaser Rifle Kit- $150 plus shipping.
Cast directly from an original prop used on Star Trek: The Next Generation.
Payments
accepted are bank certified checks, money orders, and PayPal.
International
Shipping is available.
For
shipping prices, please use the checkout cart in the store, it calculates the shipping costs for you prior to the payment being due.
All
items are made to order at the time payment is made. Please expect approximately 4-6
weeks for the items to be ready to ship.
Available in the SpatCave Store.
Prices subject to change without notice.