  |
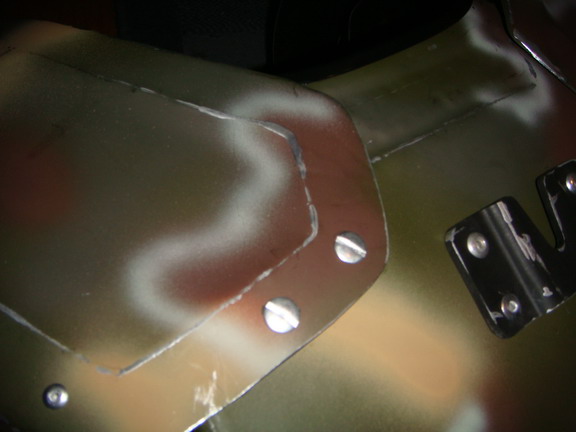
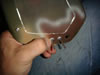
Ok, the plan here is to have the shoulders connected to elastic, instead of rivets, so they can move and flex without a problem. First, we have to remove the rivets holding the shoulders to the back of the armor. This can be done by holding the back of the rivet in place with the pliers. This will keep the rivet from spinning. Next, load the drill with the 3/16" drill bit, and drill out the center of the rivet from the outside. In a second or two, it will pop open. |
 |
Remove the padding from the inside of the back armor on the upper left shoulder. |
 |
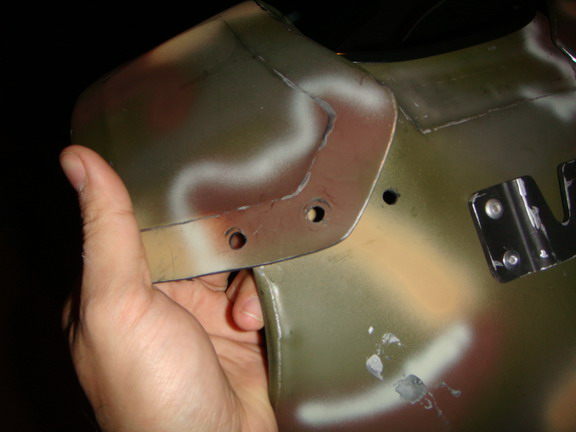
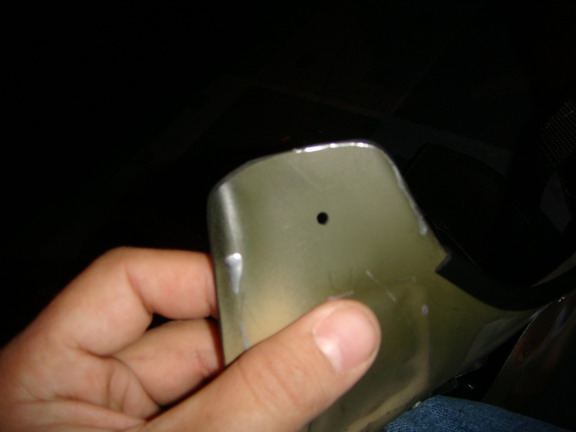
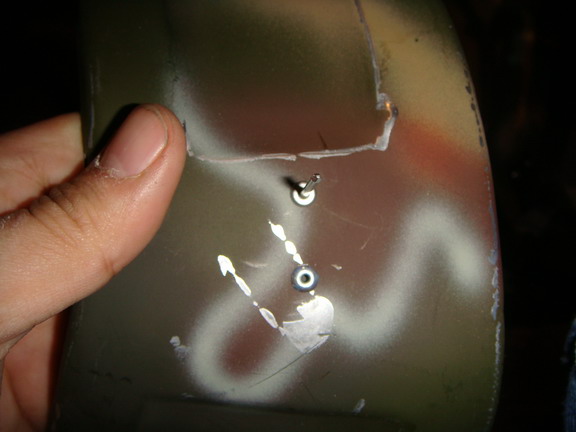
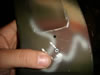
Drill a 1/8" hole in the upper part of the upper left area of the back armor. |
 |
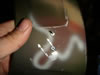
Drill another 1/8" hole in the upper left area of the chest armor as well. |
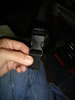 |
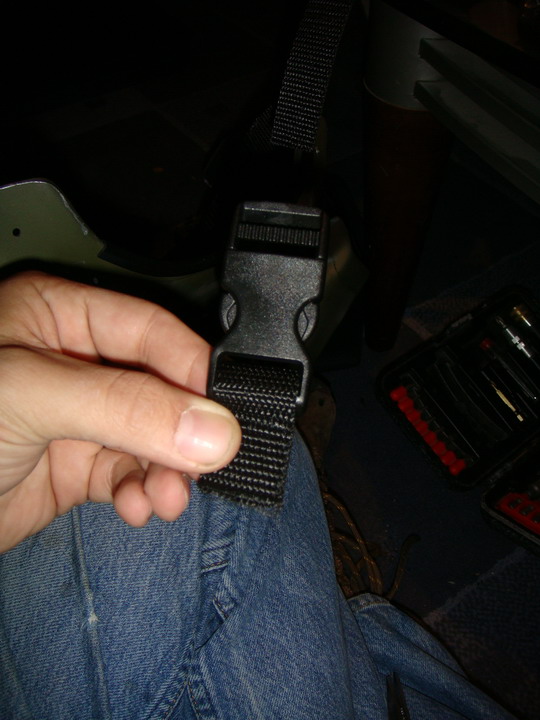
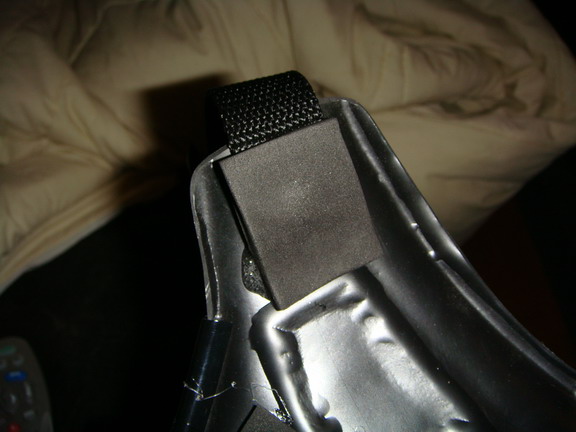
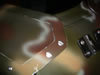
Cut a 4" or 5" length of webbing and thread it through the non adjusting end of the buckle. |
 |
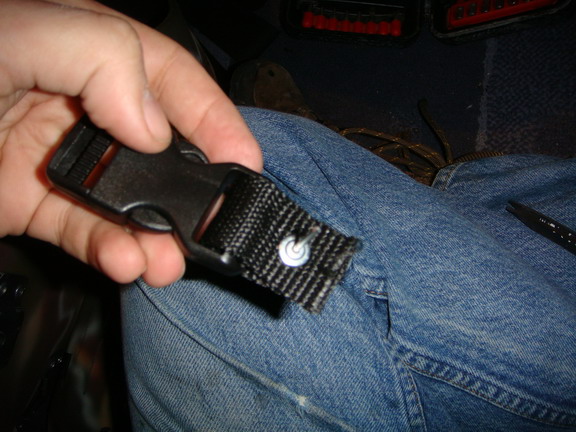
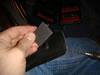
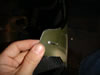
Since we're going to attach this on the outside of the armor (to keep the buckle from rubbing on your shoulder) we need to attach it in a way that will not let the rivet tear through. So we put a washer on the webbing first, and then put the rivet through there. |
 |
The rivet goes through the hole we drilled in the upper part of the chest armor. Be sure to use a washer on the inside as well. Use the rivet gun to pop the rivet into place. |
 |
Next, we put a rivet in the hole that we drilled in the back of the armor. |
 |
The rest of the webbing gets placed on the rivet from the inside (back) of the armor. Place a washer on the rivet, and pop it into place. |
 |
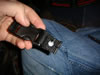
Thread the webbing through the adjustable end of the buckle. |
 |
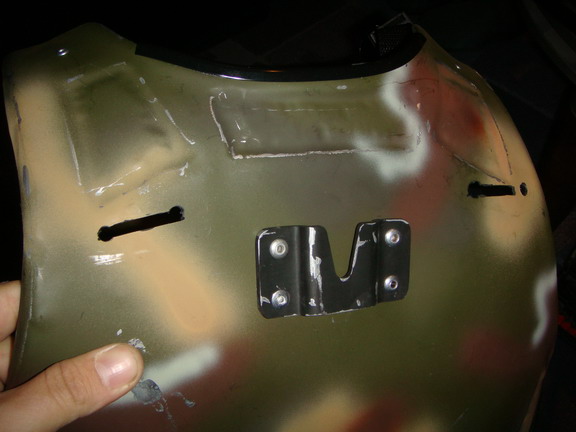
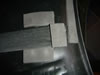
Now, we use the Dremel tool with the cutting wheel to make slots in the back of the armor for the elastic to slip through. Make the slots wide enough for the elastic you're using. You can use the holes that were in the back armor as a guide if you want. |
 |
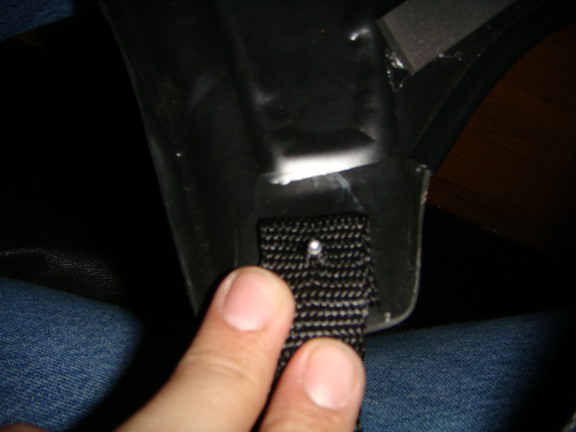
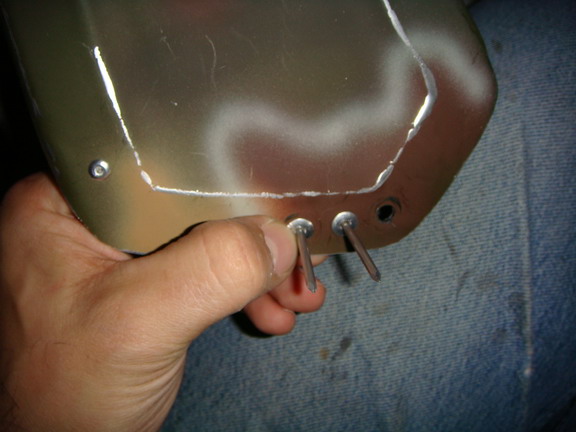
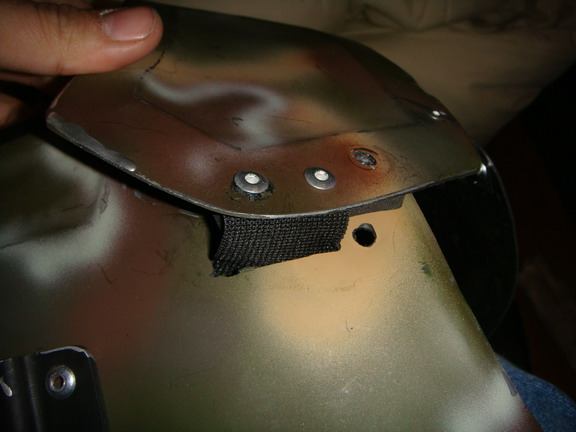
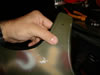
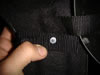
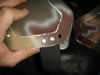
Now we drill a 1/8" hole in the shoulder armor, just forward of the existing rivet. |
 |
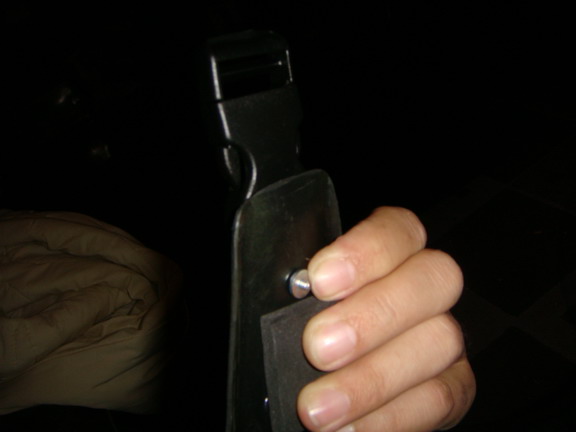
Insert a 1/8" rivet into the hole. |
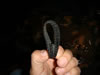 |
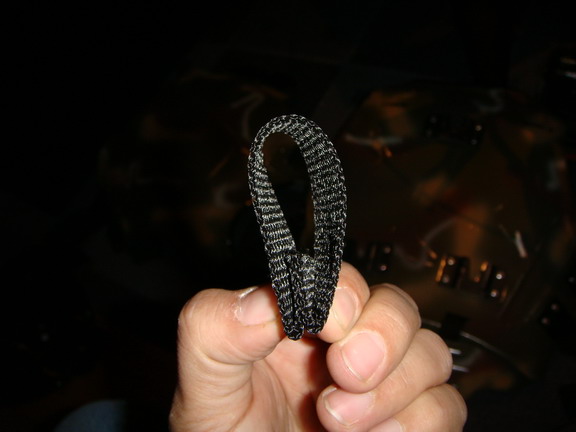
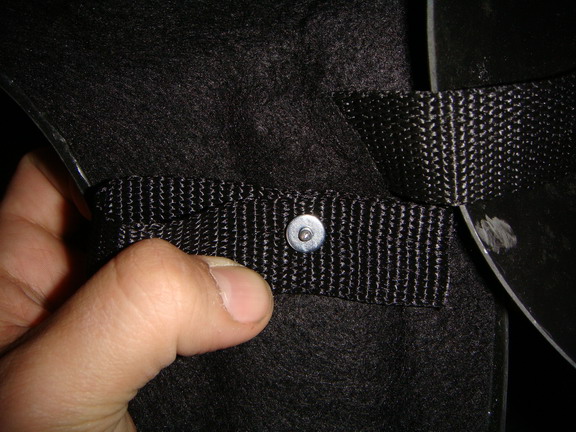
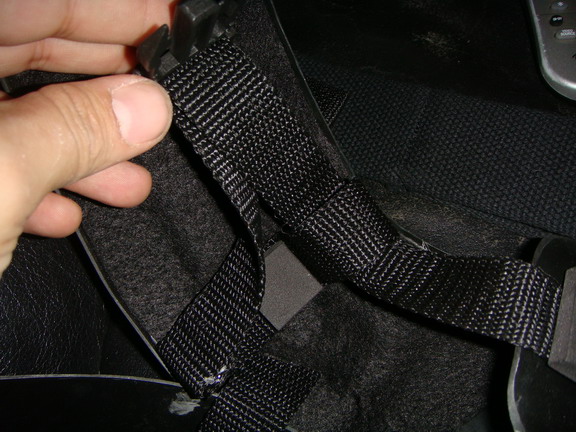
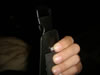
Cut a length of webbing long enough to make a loop that can fit the buckle through it. |
 |
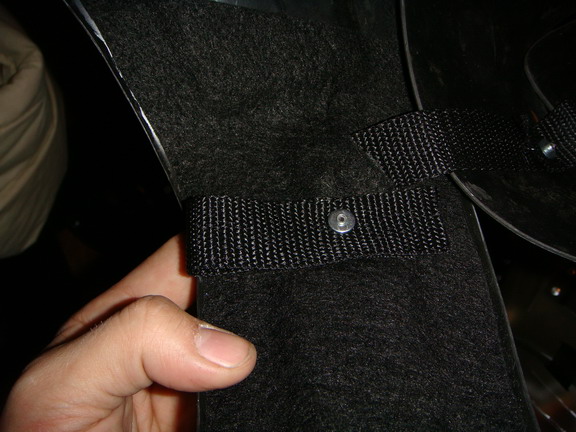
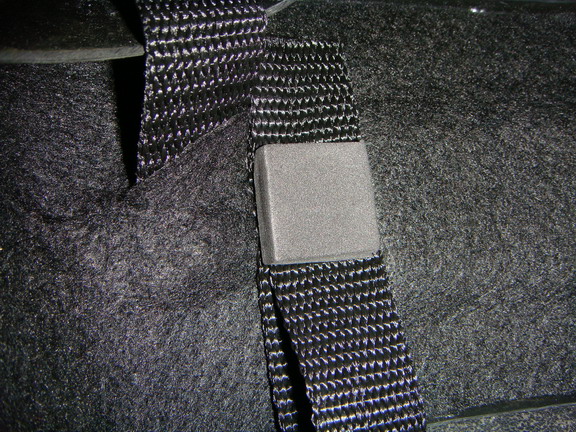
Slip the looped webbing onto the rivet with the loop facing inward (towards your neck). |
 |
Place a washer on it. |
 |
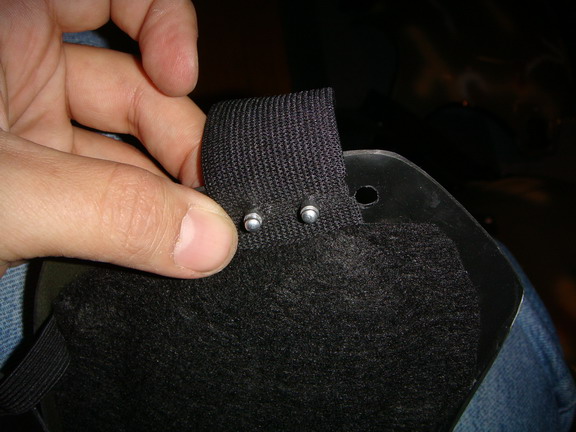
Pop the rivet into place. Do the same for the other shoulder as well. |
 |
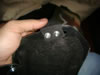
If the holes in the backs of the shoulders are close together enough to line up with your elastic, Great! Otherwise, you'll have to drill another 3/16" hole next to one of the holes (the other will just be an empty hole). |
 |
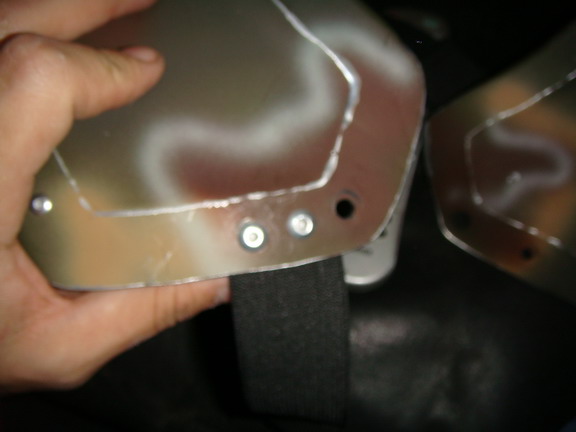
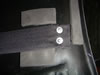
Insert the 3/16" rivets in the holes that you'll be using. |
 |
Slip the elastic onto the rivets from the inside. |
 |
Be sure to use a 3/16" washer on the inside. |
 |
Pop the rivets and you're all set here. Be sure to do the same to the other shoulder.
(Not shown in the pics, but after looking at it, pop a third rivet into the unused hole as well, and just pop it into place to get rid of the hole. It will look a lot better.) |
 |
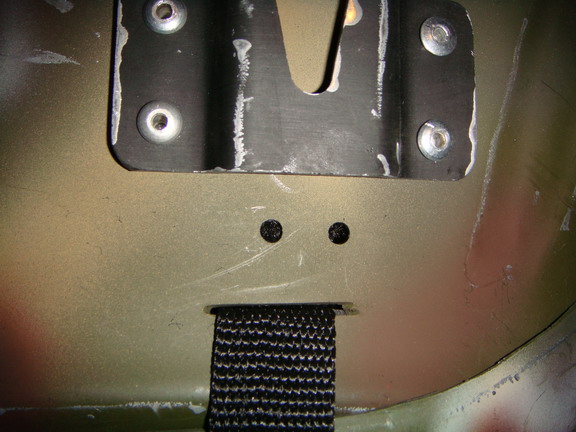
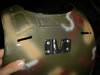
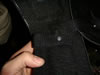
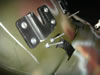
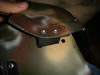
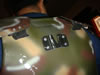
Next, we drill two 3/16" holes in the bottom of the back armor, directly below where the slots were cut above. In this case, we're making sure that it's below the back brackets. You may have to watch out for the straps that hold the hanging back flap on. |
 |
Use two 3/16" rivets in the holes. |
 |
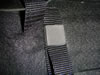
Slip the elastic onto the rivets, use washers and pop the rivets into place. |
 |
Now, the shoulders should flex and move without a problem. |
 |
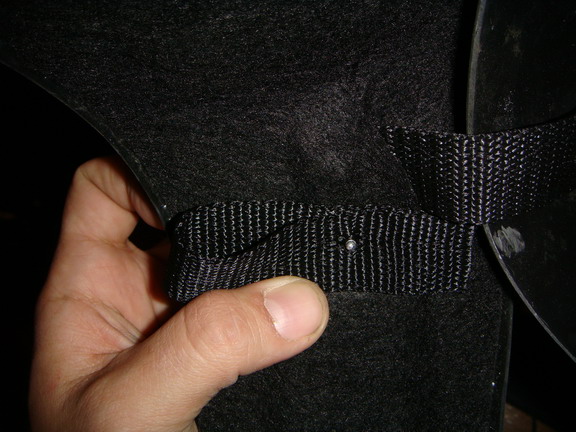
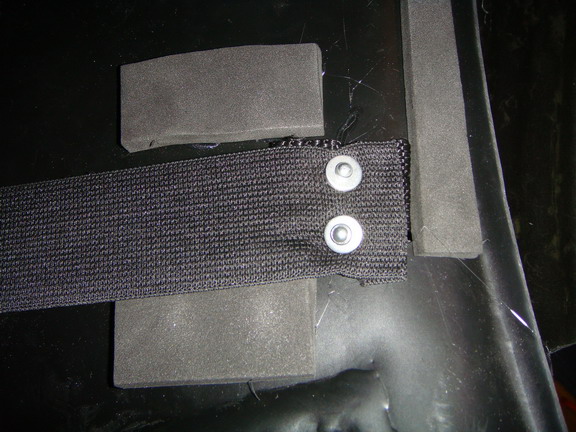
Under each bit of webbing and elastic, I like to put a few drops of hot glue. This holds the webbing in place better, and helps prevent the webbing from unraveling. I also suggest you pad the areas below the rivets to prevent them from scratching your armor, or digging into your skin when you wear it. Take your padding (I use the thick, black Foamies from a crafts store, but you can use anything you like), and hot glue it into place in the back of the shoulders. |
 |
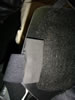
Pad the area under the shoulders. |
 |
Pad the lower back area, |
 |
And replace the padding we pulled out of the upper back armor earlier. |
 |
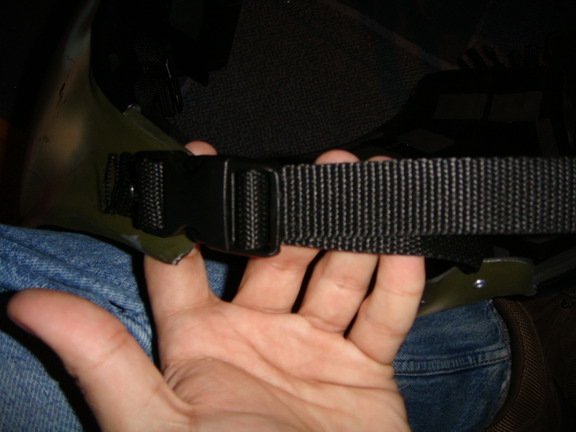
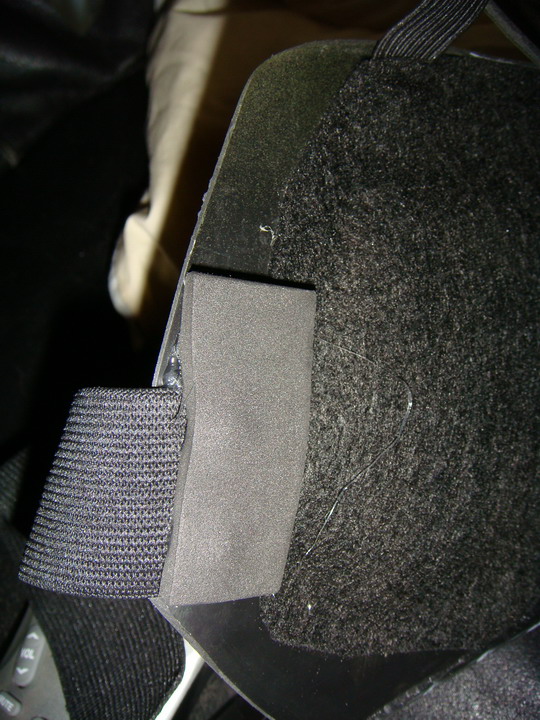
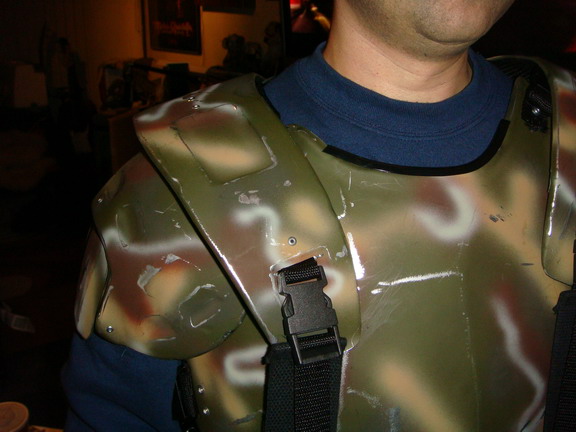
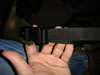
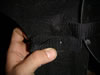
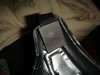
Now, slip the buckles (both the one you just attached on the left side, as well as the existing one on the right side) through the loops we just attached under the shoulder armor. Pull the buckle adjustments nice and tight, and you should be all set to try it on! |
 |
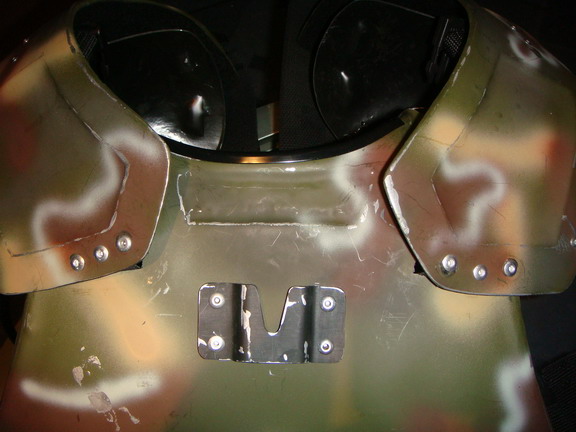
Here you can see the completed upgrade with the floating shoulders that will now move freely. |
 |
You can see here that they will flex a lot more now. |
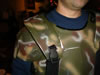 |
And, the shoulders lay flatter to the chest armor and look a lot better. |
 |
And here is the final set, with the extra rivets in place to close up the holes! |