Supplies
Needed:
Mac
11 (replica or Airsoft) $50.00
- $100.00
- $130.00
- $150.00
CA+
Glue (Try for the brand name "Zap-A-Gap" by Pacer)
X-Acto
Knife
Hacksaw
and / or Dremel Moto Tool
Plumber's
Putty (or some other type of gap filler)
Drill
Various
Sized Drill Bits
Screwdriver
Sandpaper
Sandable
Primer
Flat
Black Spray Paint
Clear
Coat
(NOTE:
All parts can be painted before assembly, then touched up after puttying.)
Remember,
only paint outdoors, or in a well ventilated room.
So,
wondering where to get a Mac 11 Airsoft?
You
can get one from Collectorsfield
for $50.00. It's a gas powered airsoft, semi auto, non-blowback. The
magazine is easy to cut and convert, and the best part, of course, is
the price.
Another
way to go is Den
Trinity. They offer a Maruzen gas powered airsoft, full auto, blowback
Mac 11. And the best part is that the magazine is already short! No
mods needed. They're located in Hong Kong, so there will be extra shipping
charges and the issues with US Customs.
Wargamer's
Shop has the Maruzen for $100.00, but they are located in Hong Kong
as well.
You
can also get a Maruzen Mac 11 at Airsoft
Extreme. It's a little more expensive, but they are in the US, so
no worries about US Customs.
Whatever
you do, don't get a KSC Mac 11. While it is a really nice gun, it holds
the gas in the magazine, which means it can't be modified.
You
can also pick up one of our Macc 11 resin body kits. These are pre-
cut and trimmed and ready to accept the Blade Mac 11 add on. They are
available in the SpatCave Store!
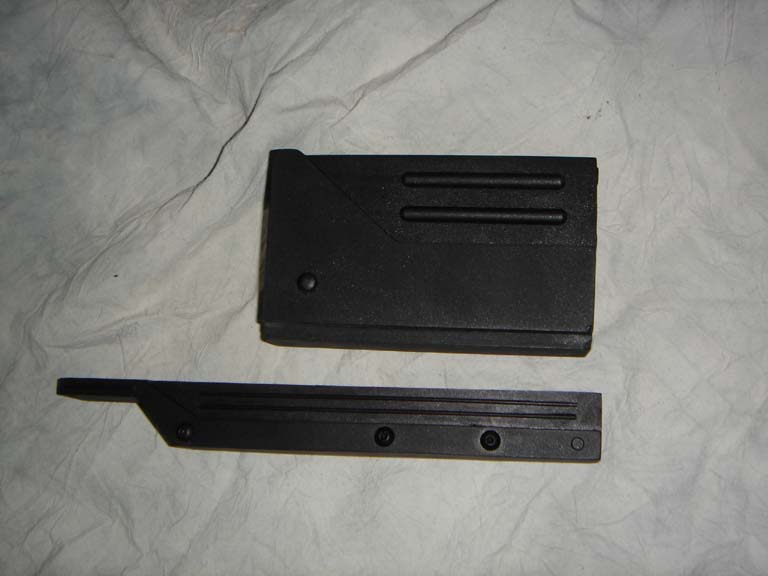
| |
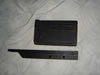 |
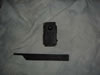
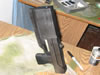
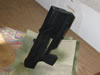
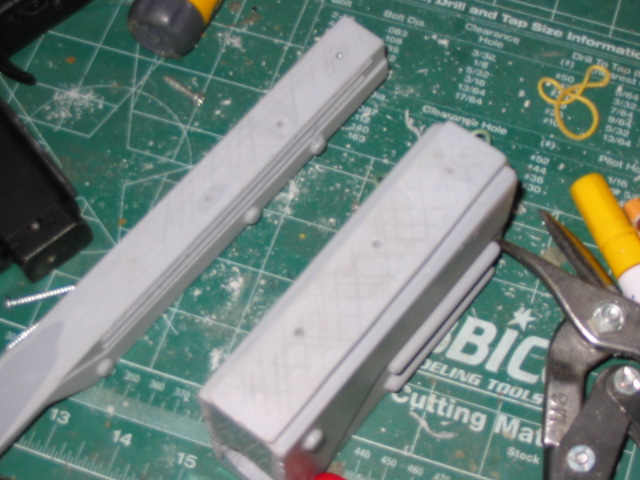
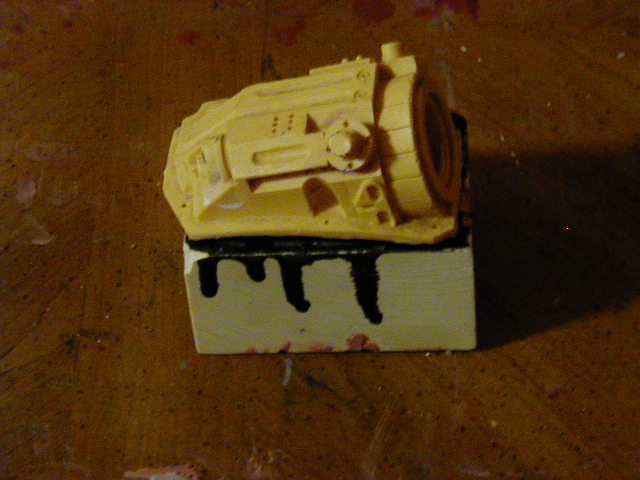
The kit includes 1-Lower Body, 1-Upper Body. Resin Mac 11 Body
kit is an optional item.
Wash all parts in warm, soapy water and allow to air-dry. Lightly
sand all resin parts |
| |
 3:37
3:37 |
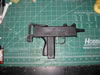
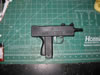
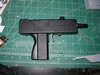
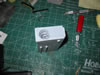
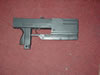
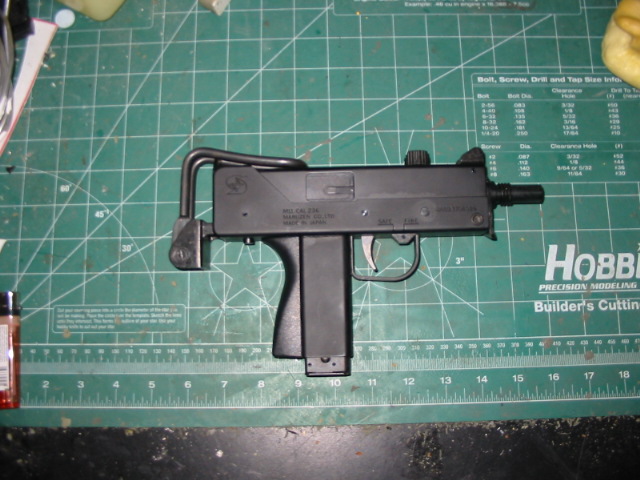
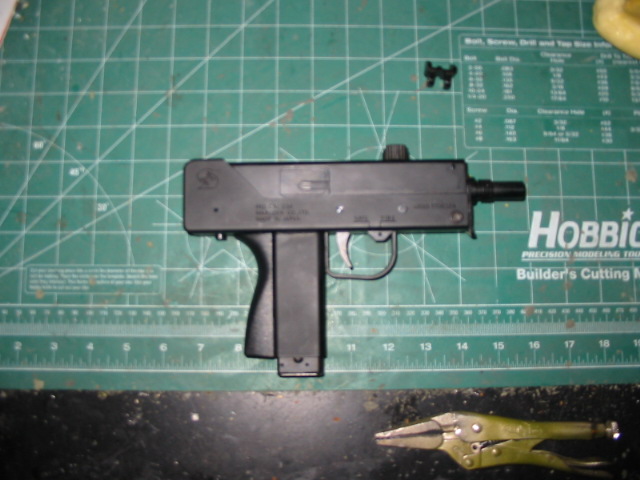
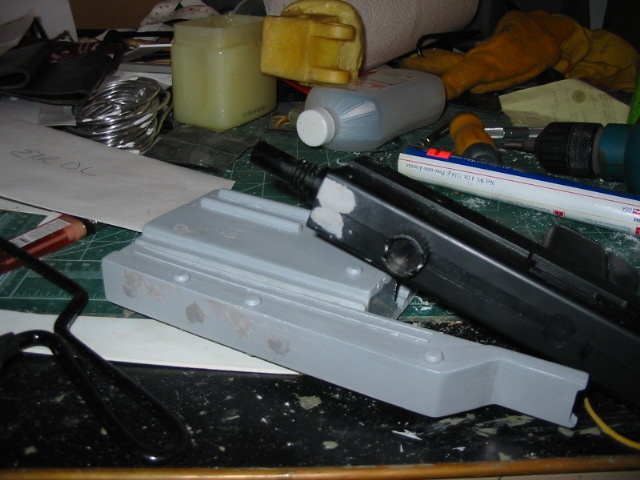
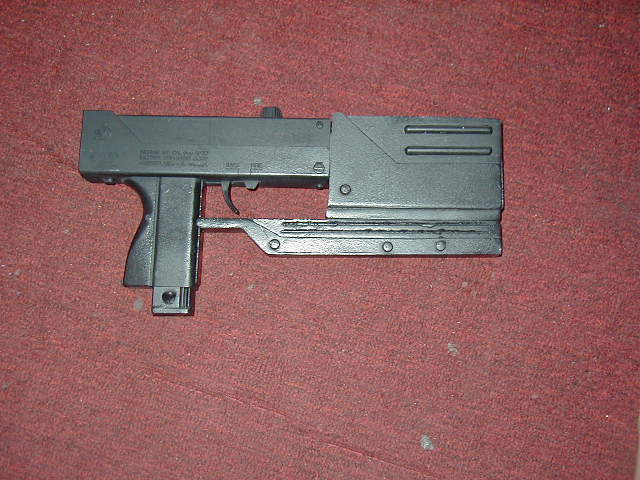
Here's
what you're starting with: A Mac 11 (airsoft or replica), and
a 2 part resin kit from me. I've included the time
stamp from the pics so you can see how long it actually took me
to make one.
Please
note - if you are using one of our Macc 11 Body Kits, you can
skip down to step 7, and can skip step 10 completely. |
| 1 |
 3:37
3:37 |
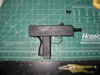
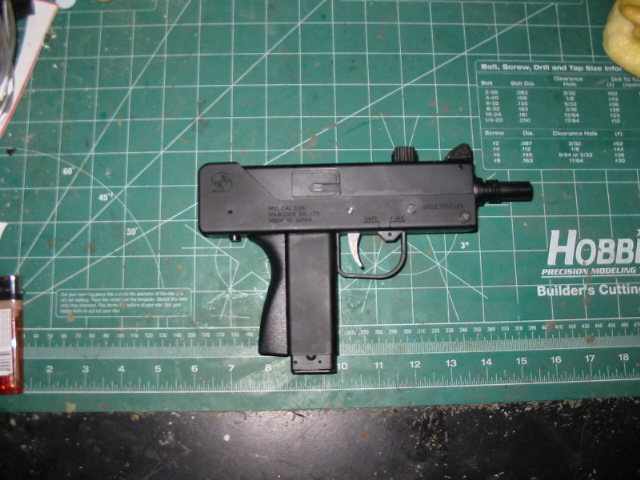
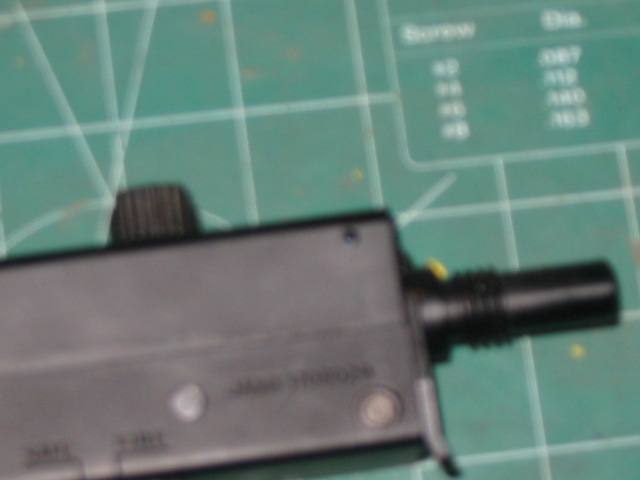
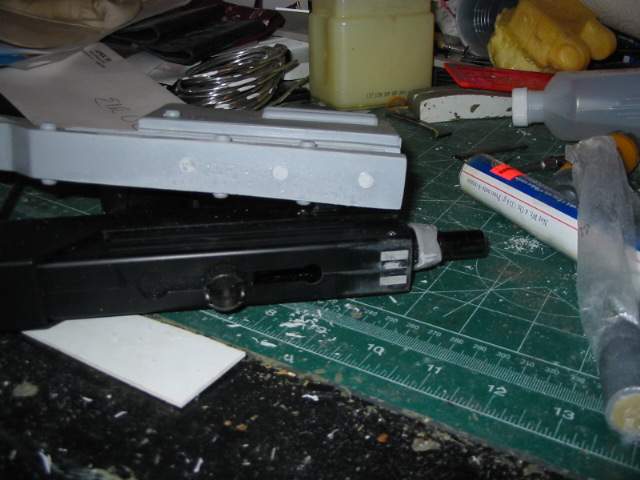
Remove
the stock from the Mac 11. |
| 2 |
 3:40
3:40 |
Remove
the rear sight. I used a belt sander, but a small hacksaw or Dremel
will work just as well. |
| 3 |
  3:42
3:42 |
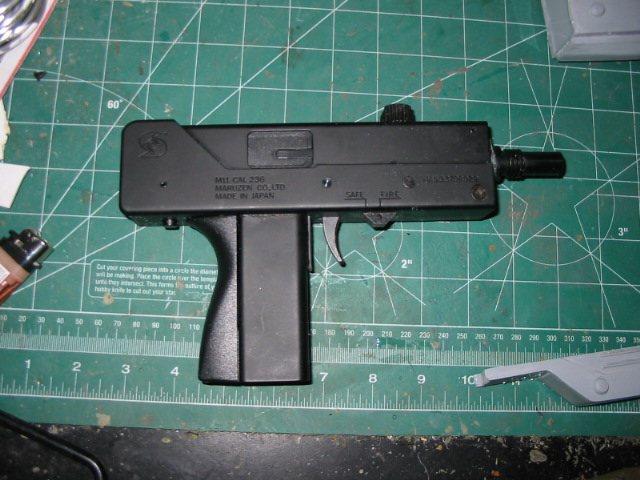
Remove
the front sight. This is easily done on most Mac's by removing the
small pin just below the sight. Some Mac's have the front sight
built in the plastic, and these need to be cut off same as the rear
sight. |
| 4 |
 3:48
3:48 |
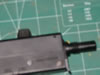
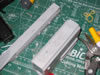
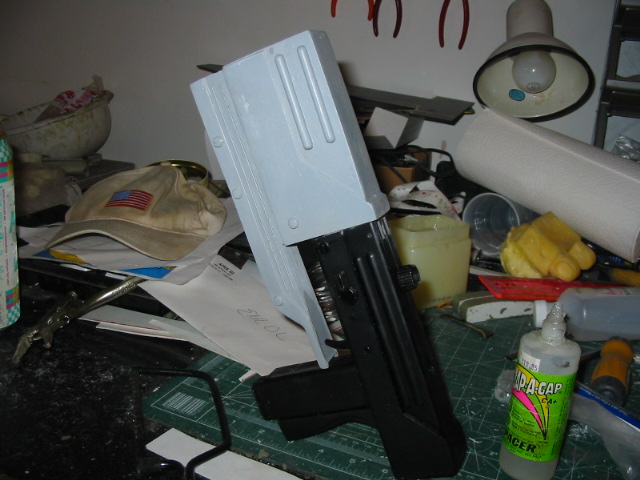
Remove
the front strap holder with a Dremel or hacksaw. Remember, the front
of the weapon will be covered by the resin parts and not seen, so
it doesn't really matter how much you cut it up. |
| 5 |
 4:13
4:13 |
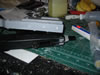
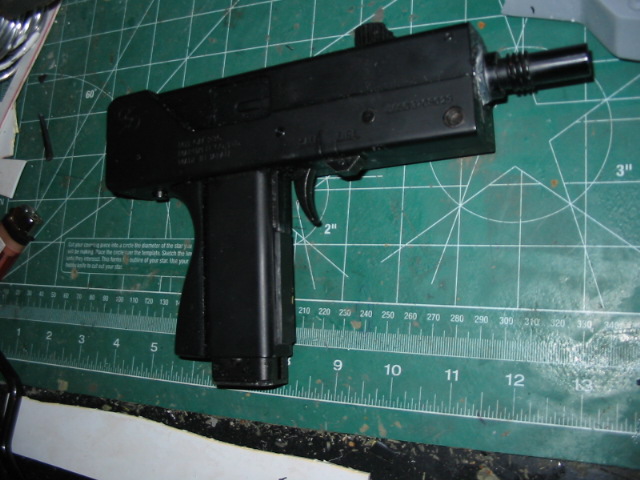
Remove
the trigger guard with a hacksaw. |
| 6 |
 4:21
4:21 |
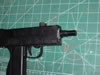
Add
a strip of plastic to the grip under where the trigger guard was. |
| 7 |
 4:25
4:25 |
Align
the two resin parts and pre-drill the holes for them. Use a 1/8"
drill bit for these holes, and go in at least 2" to be sure. I decided
to use 3 screws to give it more strength as this will be used at
Cons and not just as a display piece. |
| 8 |
 4:27
4:27 |
Drill
a larger hole with a 1/4" drill bit just deep enough to cover the
head of the screw that will go in here later. This is called Counter
Sinking. |
| 9 |
 4:38
4:38 |
Drill
in through the barrel with a 1/4" drill bit. Go in as far as you
can. The plan here is that if you'll be using this as a firing airsoft,
you need a thin channel leading back to the airsoft barrel, and
then a wider one at the outside end. If you make the outer hole
thin, then the pellets will bounce around and hit the side walls
at high speed, possibly cracking the resin. Once that hole is deep
enough, go back in with a larger drill bit the same width as the
barrel opening. |
| 10 |
 4:38
4:38 |
Now
bore out from the back a hole wide enough for the barrel of the
Mac to fit into. I started with a 5/8" drill bit, then moved down
to a 1/2" and wiggled it around until the barrel fit. Skip this
step if you are using a Resin Mac 11 Body Kit. |
| 11 |
 4:38
4:38 |
Test
fit the Mac to make sure it sits all the way into the new barrel
extension. |
| 12 |
 4:42
4:42 |
Score
the resin parts where they will be joined to ensure a good grip
when glued together. |
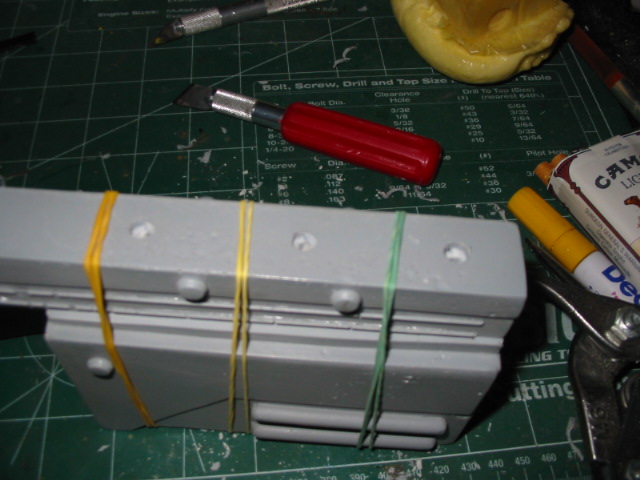
| 13 |
 4:47
4:47 |
Screw
the two resin parts together and use the plumber's putty to cover
all holes and fill any air bubbles. |
| 14 |
 5:13
5:13 |
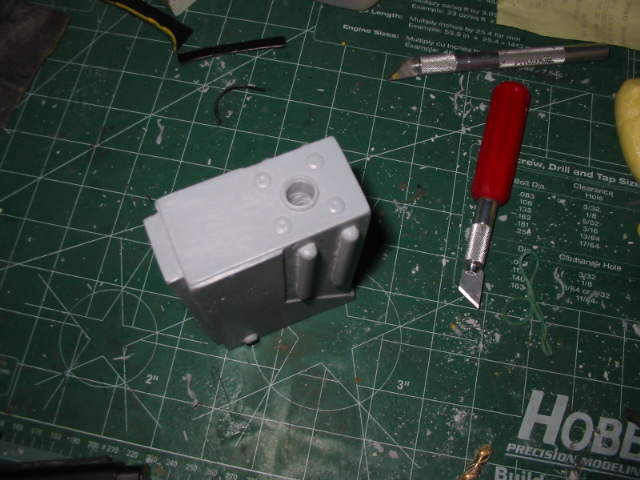
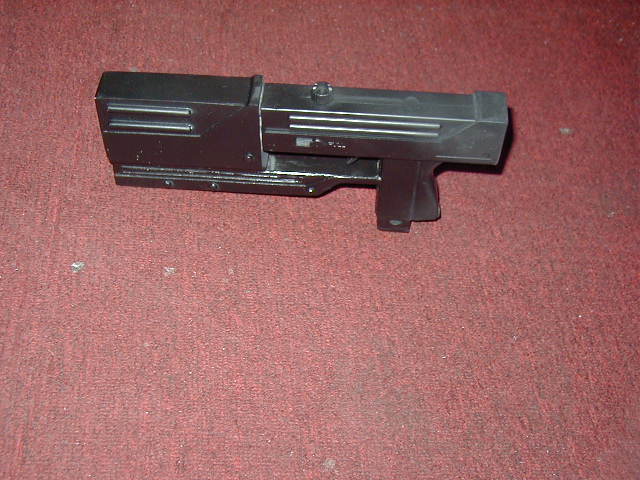
Let
the putty cure, and then sand smooth. |
| 15 |
 5:17
5:17 |
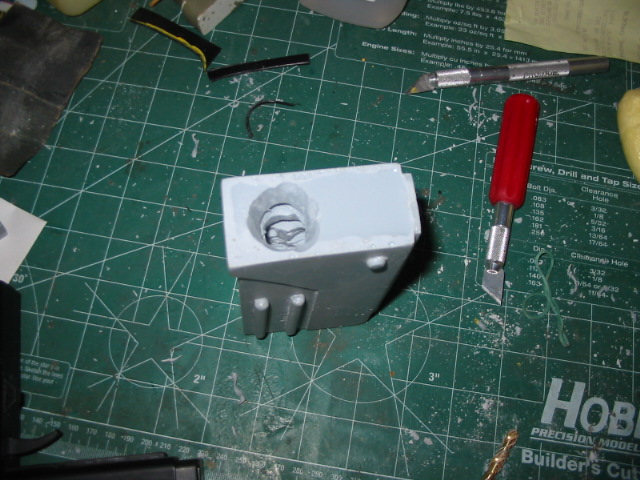
Use
the plumber's putty to wrap around the barrel to give it a comfortable
seat into the resin barrel extension. Cover the putty with the CA+
glue to make an even more permanent seal. Use some glue on the resin
part that meets the handle as well. Pres the parts together to make
sure everything is nicely together. |
| 16 |
 5:20
5:20 |
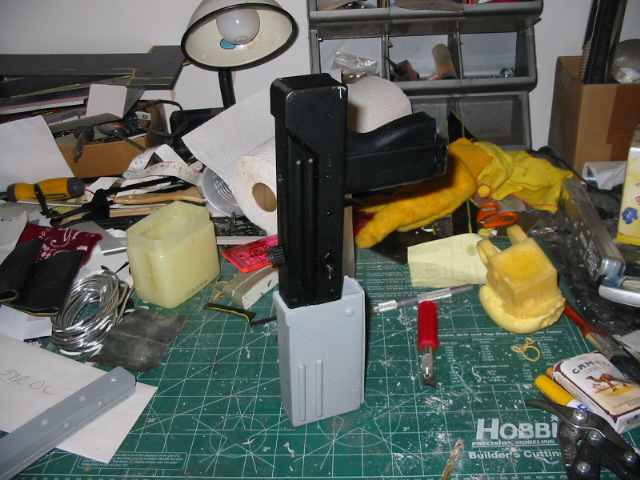
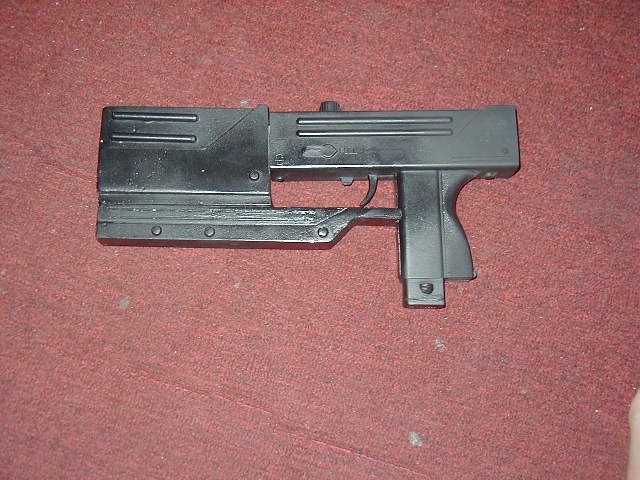
Prime
and paint with flat black paint. Use many light coats, and don't
try and cover the whole thing in one shot. |
| 17 |
 6:37
6:37 |
Once
dry, cover the entire thing with a clear coat to seal it all in. |
| |
So,
the grand total was 3 hours from start to finish including all drying
times! |
| |
One
thing to remember, when drilling out the barrel, drill from the
outside!! I've discovered that if you have any kind of lip in
the inside of the barrel (meaning that the opening inside is bigger
than the actual hole of the barrel), the airsoft pellets will
hit off this inside lip and can crack the resin. |

 |
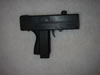 |
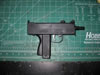
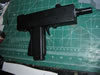
A
very simple resin kit that attaches to a Mac 11 Replica to make a very
nice display piece for every Blade fan!
Payments
accepted are bank certified checks, money orders, and PayPal.
International
Shipping is available.
For
shipping prices, please use the checkout cart in the store,
it calculates the shipping costs for you prior to the payment being
due.
All
items are made to order at the time payment is made. Please expect 4-6
weeks for the items to be ready to ship.
Available
in the SpatCave Store.
Prices subject to change without notice.


