|
Biker
Scout Kit Instructions
Last
updated 10/29/01
Please
don't give this URL out to other people, this is for customers that have,
or are getting a set of armor.
Materials
needed:
Cutting
tools (Sheet metal snips, Dremel, X-Acto knife, etc.)
Sand
Paper (Medium and Light grits)
Pencil
Instructions:
Look
over the pics below and make sure you have all the needed parts:
Chest
Plate
Shoulder
Plates (2)
Back
Plate
Knees
(2)
Forearms
(2)
Upper
Arms (2)
Intake
Scoop
Belt
Buckle
Belt
Side Plates (2)
Belt
Back Plate
Belt
Boxes (2)
Using
the pictures below, mark the parts where you'll need to cut them using
the pencil.
To
cut the parts out, use you choice of techniques; cut the main part out
with a Dremel, then go in and do the final cut with another tool, such
as snips, an X-Acto knife, or a box cutter.
WARNING:
All these cutting techniques require using sharp tools that can be dangerous.
Be very careful when using any tools, and always wear eye protection and
a breathing mask of some sort when cutting Styrene. Also, always have
proper ventilation when cutting as the dust can be harmful.
Now
for the pics:

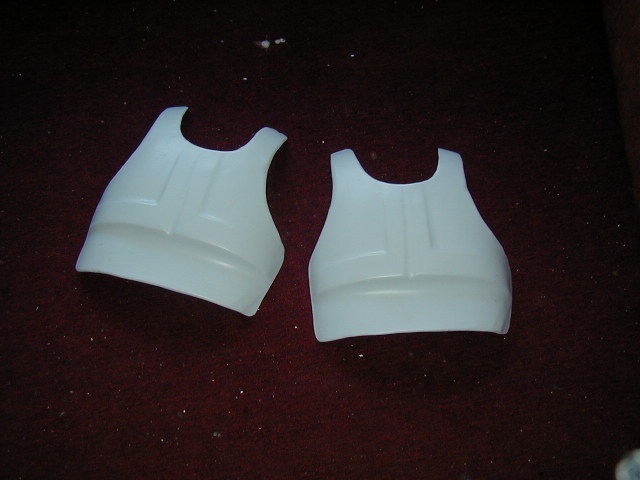
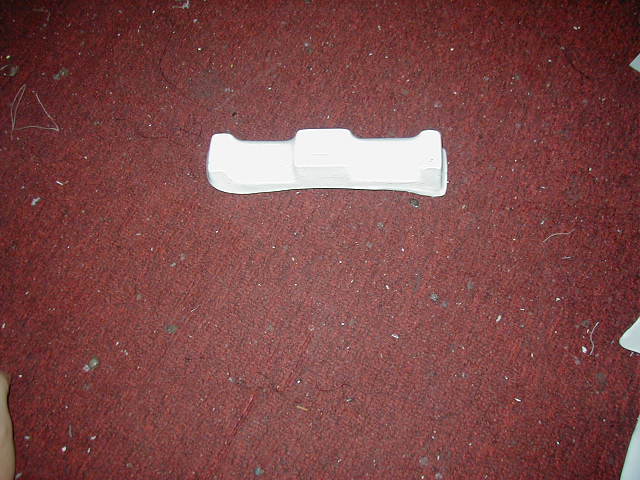
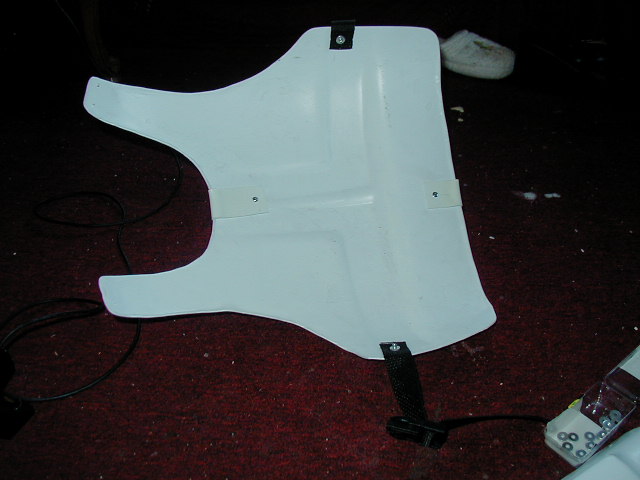
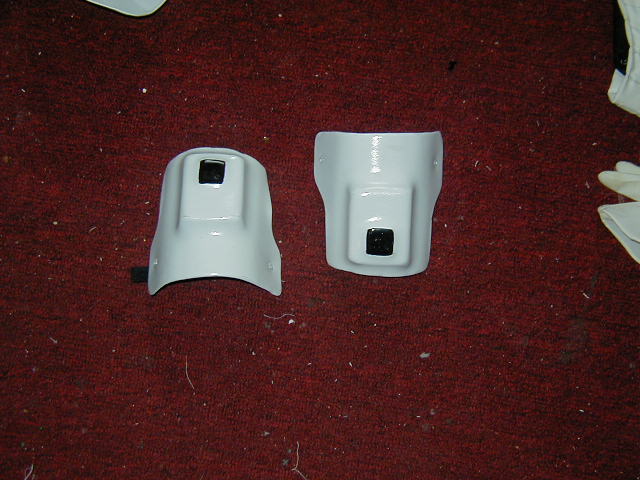
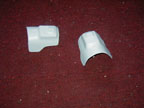
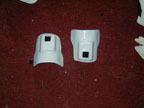
Here
are the chest and back plates. As you can see, they are the same! Some
people cut the bottom tab off, but I found that it looked a little too
small on me that way, so I kept it on.
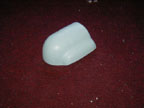
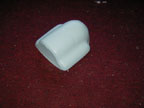
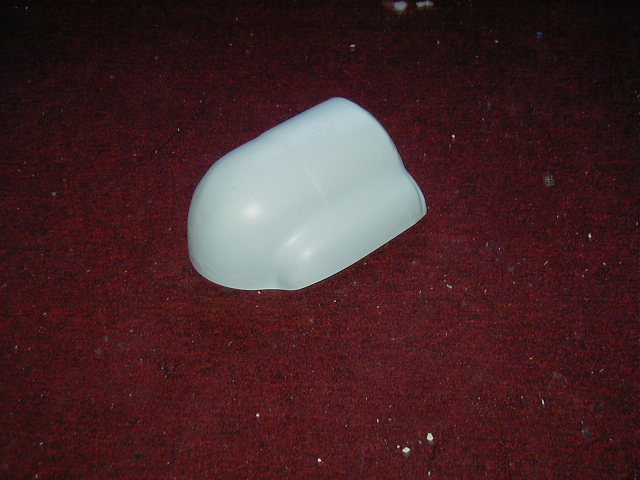
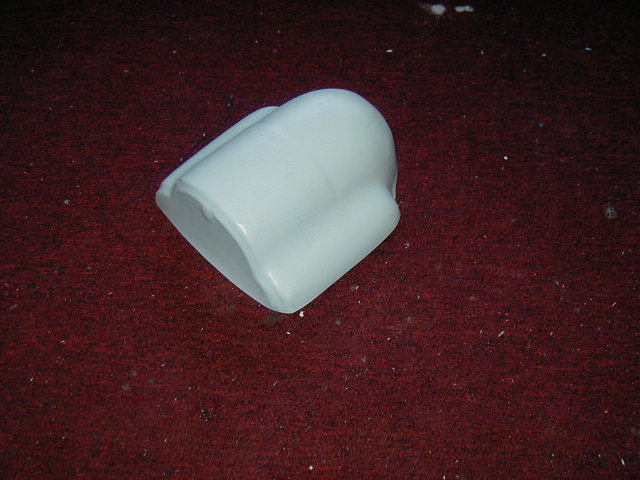
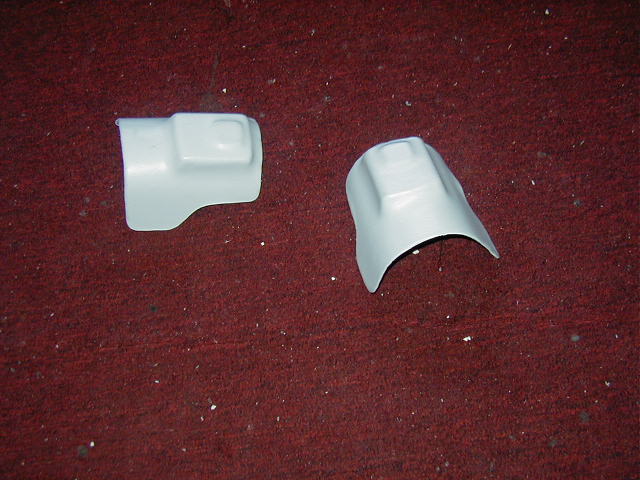
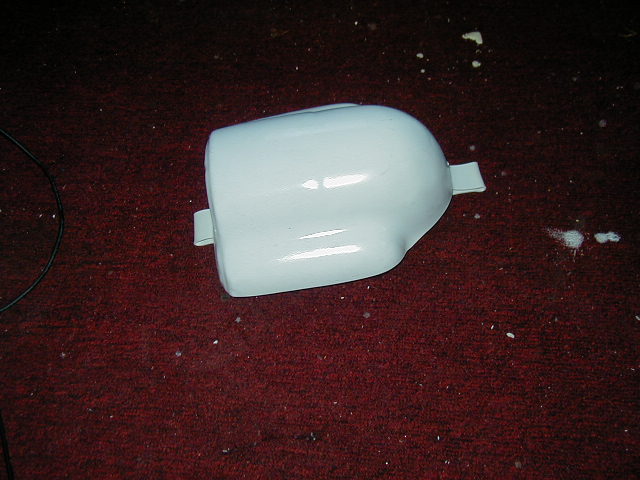
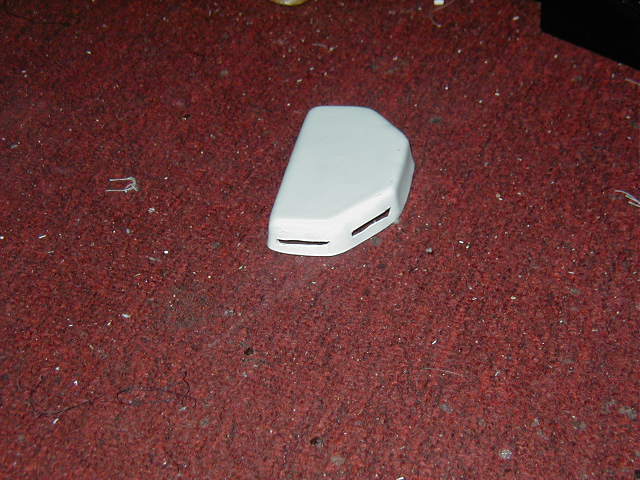
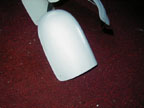
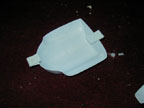
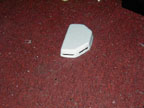
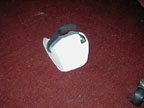
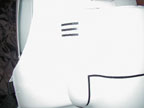
Here's
the Intake Tank. I screwed up, and should have left a tab on the top and
bottom to attach it to the back armor.
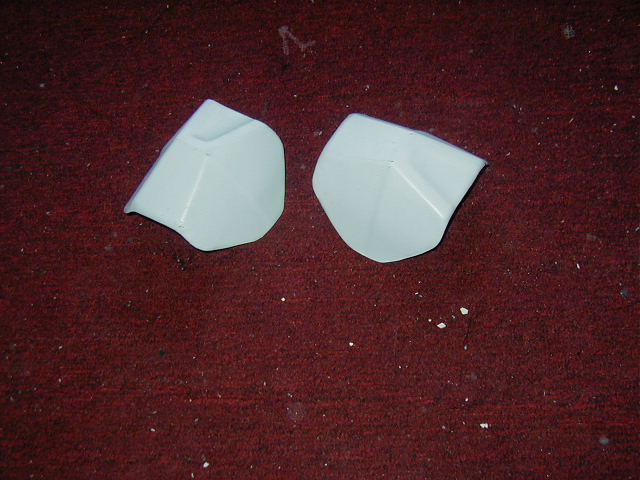
Knees.
Pretty basic.
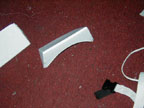
Upper
Arms. Make sure you get that nice curve.
Forearms.
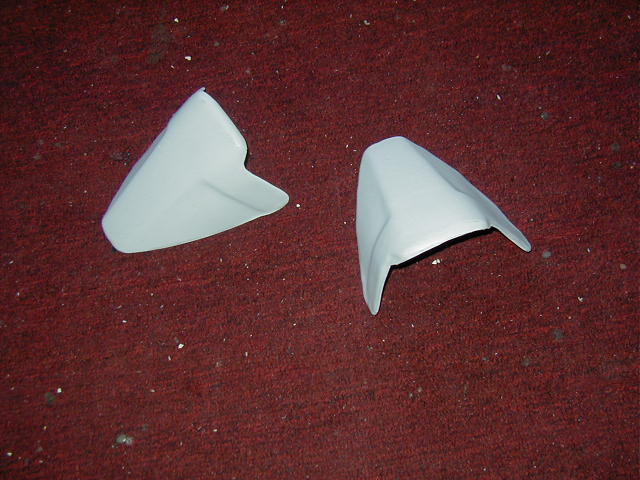
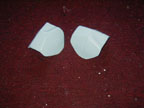
Shoulders.
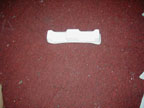
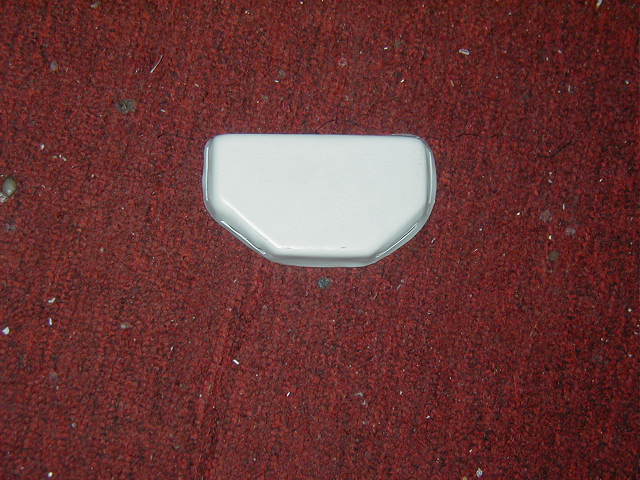
Thermal
Detonator.
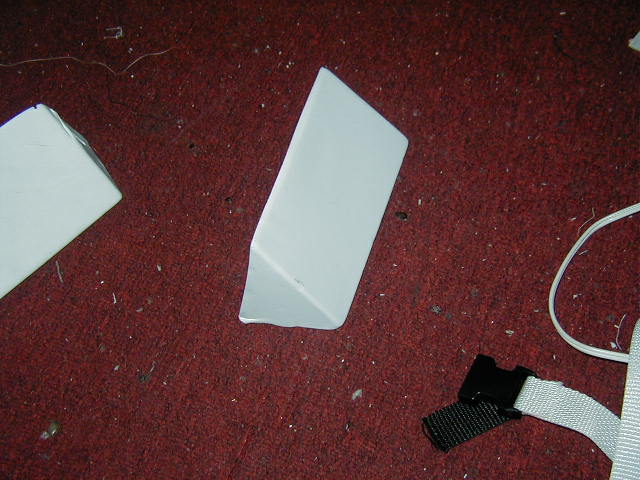
Belt
Buckle.

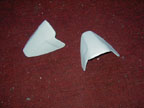
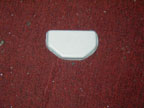
Side
Pouches. Be sure to cut that curve so they lie correctly on your sides.
Once
the parts are cut out, lightly sand them smooth with the medium grit sandpaper.
Remember, use proper ventilation, eye protection, and a mask when doing
this to prevent breathing in the dust produced by sanding.
Once
the first sanding is finished, use the light grit paper to finish the
piece nice and smooth.
Now
test fit all the parts and see how they lay on your body. Some parts may
need to be heated and bent for a tighter fit since they are made to fit
just about any body type. To do this, just use a hairdryer or heat gun
(on a low setting) to slightly heat up the area to be bent.
BE
SURE TO WEAR HEAT GLOVES!!
Once
the part is hot, bend it very slightly and hold it in the new position
until it cools. You can also run the part under cold water to cool it
faster.
Attaching
the parts: (These are
just the techniques I used for assembly. Some of you may have a different
way of doing it that will work best for you.)
Materials
needed:
X-Acto
Knife
Pop
Rivet Gun
Pop
Rivets (I use 1/8" Mediums and Shorts)
Rivet
Washers
Dust
Free cloth
Rubbing
Alcohol or a mild paint thinner (airbrush paint thinner works well)
Matte,
Semi-Gloss or Gloss clear coat spray paint (depending on how you want
your armor to look)
1"
Quick Release Clips (2) (Black)
(Lengths
for the materials below to come...)
2"
White Elastic for the shoulder connections
1"
Black Elastic
Chest
and Back


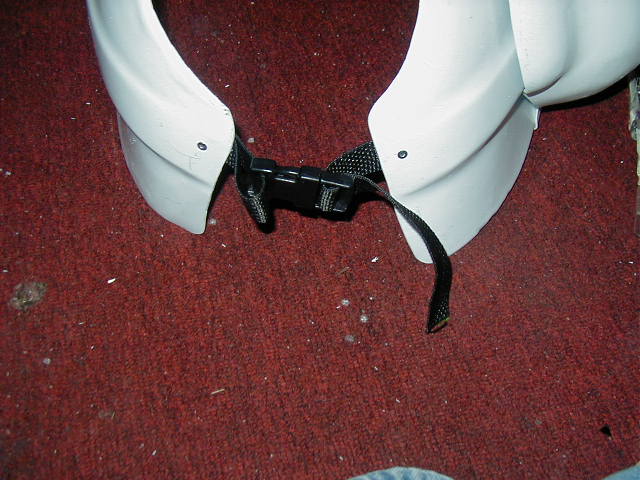
Ok,
here we go. I used some 1" black nylon (in the film is was 2"
white nylon, but I was in a rush, and didn't think it would make much
difference) and attached it to the sides with a 1" Quick Release
Clip. I wanted it to be easy to get off and on, and to keep it adjustable.
I
then riveted a piece of 2" white elastic to the top attaching the
chest and back plates.

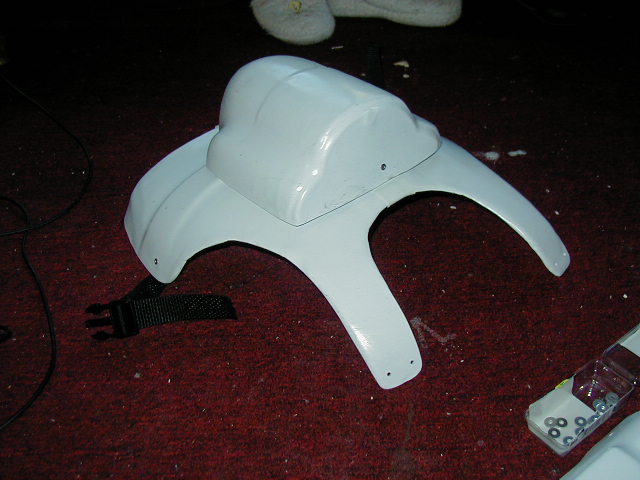
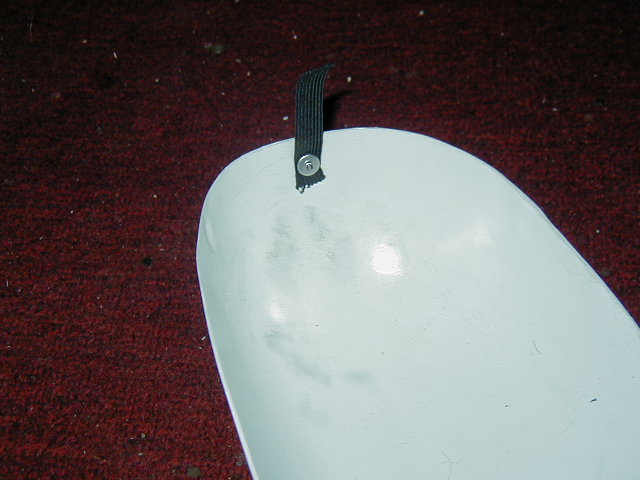
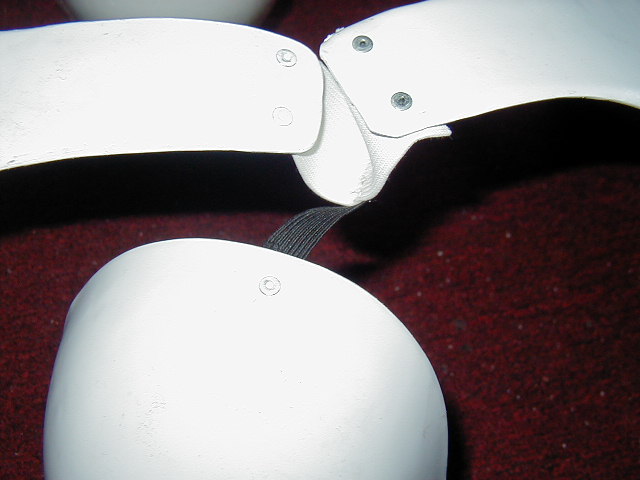
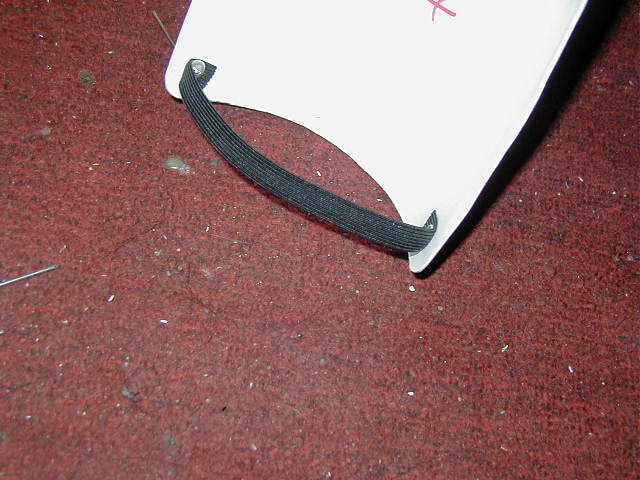
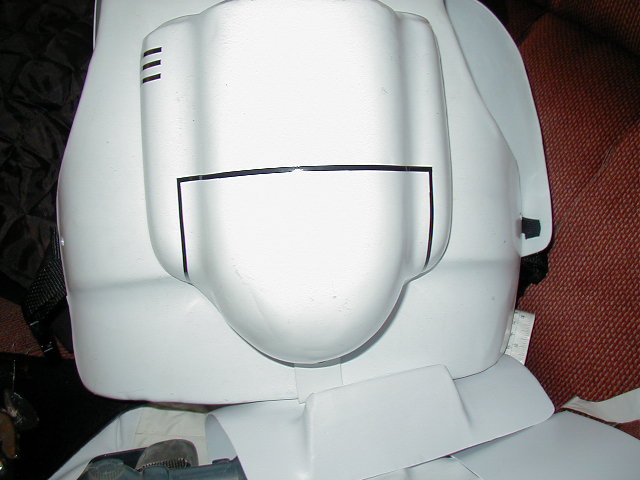
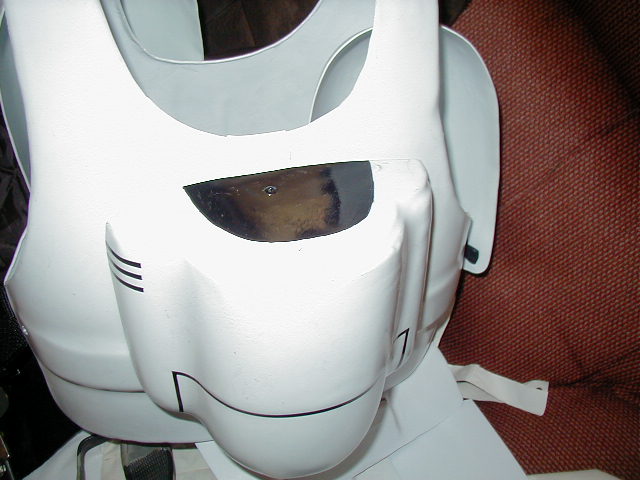
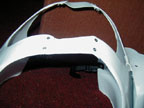
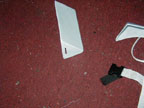
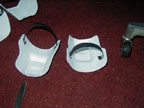
Here's
how I modified the tank to make it work. It came out pretty nice! I riveted
a strip of plastic inside the tank, then heated it and bent it to fir
over the top and bottom of the back armor, then riveted it in place.
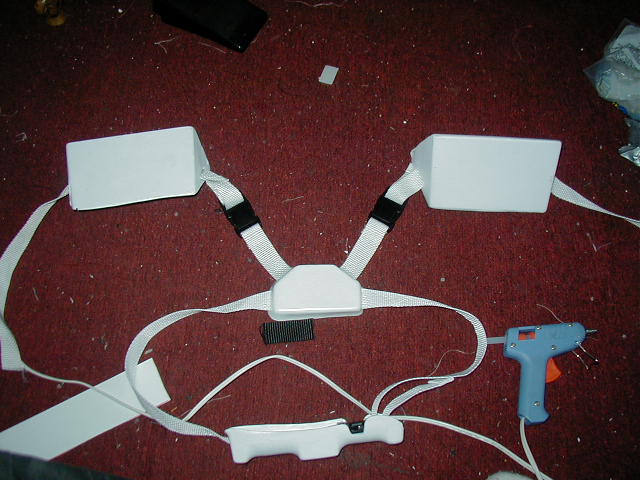
Shoulders

Rivet
a short length of the 1" Elastic to the shoulder plate, then, while
wearing the chest and back armor, have someone hold the shoulder plate
on your upper arm. When you're happy with the placement, mark the elastic
and then sew the elastic to the underside of the white 2" elastic
that holds the chest and back together.

Once
the shoulder is attached, I added a strap of 1" elastic around the
arm to keep the shoulder in place.

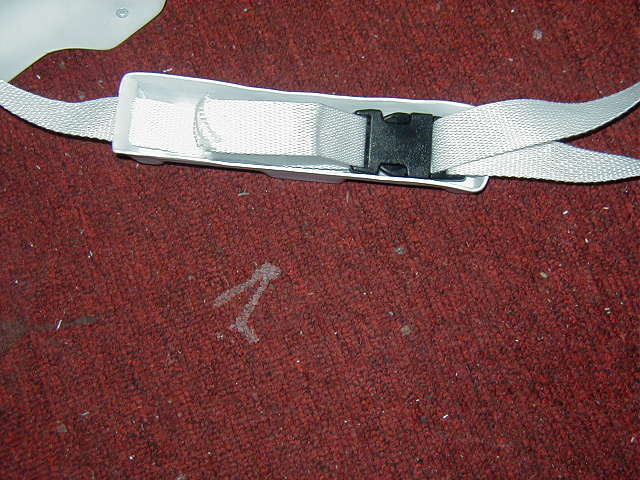
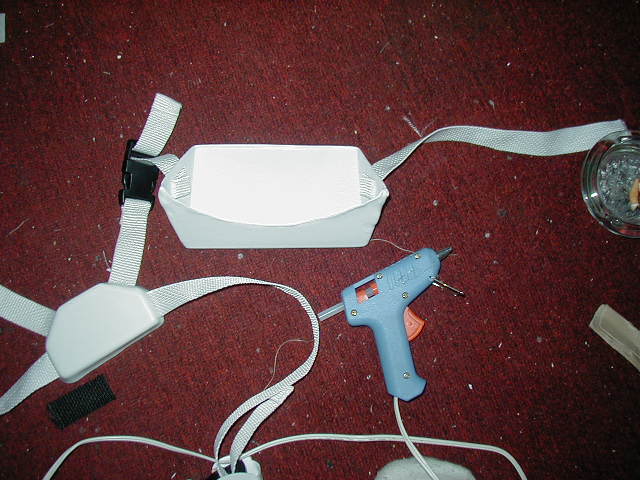
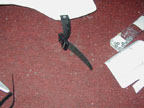
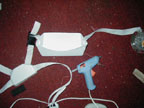
Belt

First
cut slots in the belt bucke for the belt strap and the strap that will
lead to the side pouches. Be careful!!

I
cut one slot into the Thermal Detonator and glues a 1" Quick Release
clip inside it. The strap (1" white Nylon) comes in through one end
and attaches to the clip. The other end of the strap attaches to the release
part of the clip.
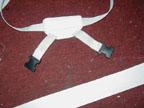
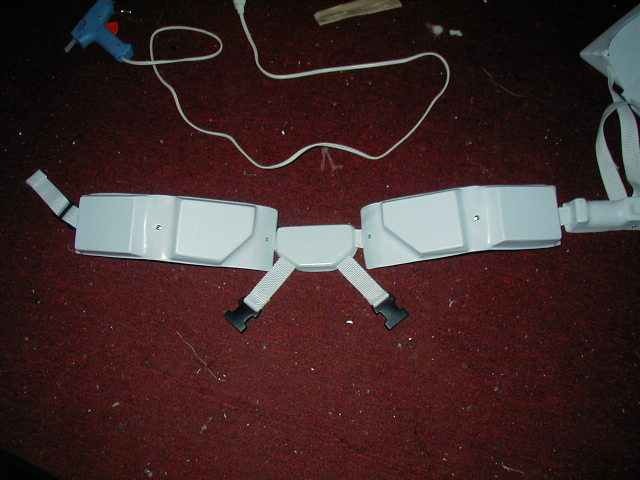
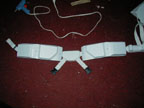
The
attach 2 more clips to some more Nylon and attach them through the angled
slots on the belt buckle.
Cut
slots into each side of the Side Pouches.
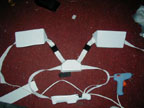
Attach
the other part of the Nylon strap inside the Side Pouches, and also to
the other end of the clip. Now the front part of the belt is done!
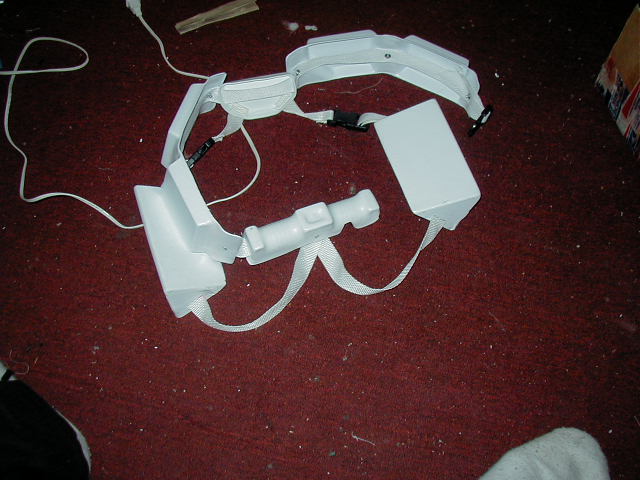
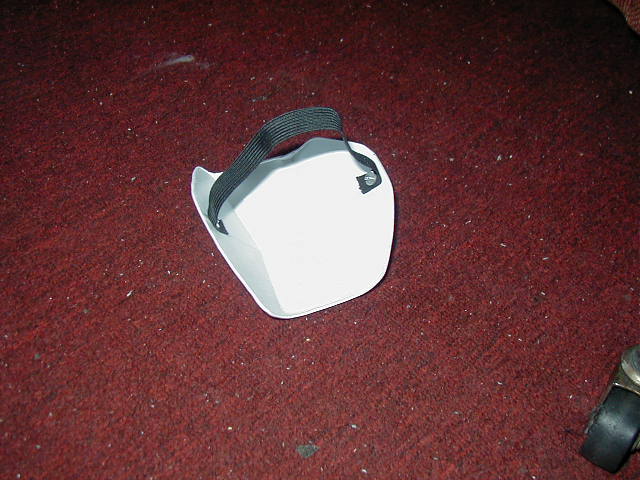
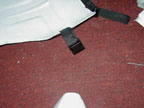
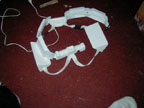
If
you go with my belt parts, just cut slots in the little boxes and slide
them onto the strap. When you get them where you want them, hot glue them
in place. I decided to try out Lance's belt parts, and these need to be
heated and bent to a curved shape, then riveted to the Nylon belt.
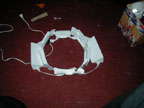
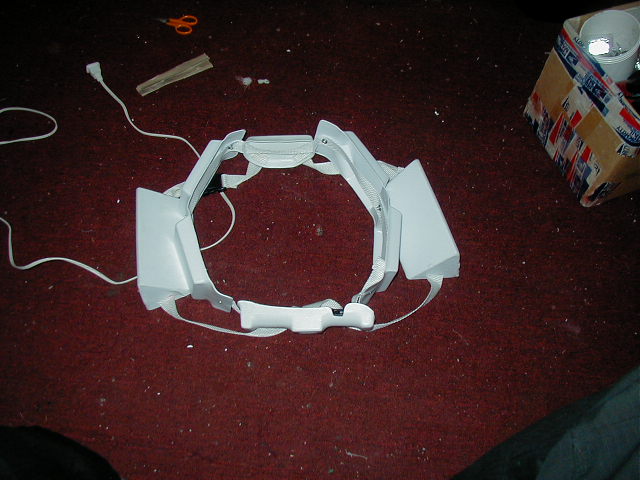
Attach
the last nylon strap out the back of the Side Pouches. Attach them to
the Thermal Detonator (I used a Rivet to make sure it stayed in place).
Once that's done, your belt is all finished!
Knees
Forearms

Upper
Arms
When
all parts are attached and connected, use the paint thinner or rubbing
alcohol (in a well ventilated area, while wearing eye protection and a
mask) on a dust free cloth to wipe off any residue, dust, or general gunk
on the armor plates.
Then
spray all parts with a Gloss, Semi-Gloss or Matte Clear Coat (depending
on how shiny you want the suit to look). Allow to dry. Remember to do
all painting in a well ventilated place and to wear a breathing mask.
Paint fumes are bad!
Detailing:
To
cover the rivets so they aren't nice and silver against your fine white
suit, use a dab of white paint. I prefer a paint pen because it's not
as messy, and it's easier to get right on the part you want to paint.
Below is a shot of the rivets both painted and not painted. The ones on
the right are still unpainted. Notice the difference?
Grab
yourself a black paint pen, and add on these little boxes and the upper
arms are all finished!
Head
out to your local Auto Parts Store and pick up some 1/8" Pin Striping
(Black), and just run a few lines to add these details to the back tank.
In
different pics of the Original suit, there are different numbers of bars
on the tank. It may be rank, or who knows. Use the Pin Striping and the
tank will look sweet.

And
use your black marker to fill in this area of the tank top.
Weathering:
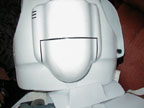
Helmet:
Most
people use the Don Post Biker Scout helmet for thier costumes. For the
price, they can't be beat. I know there are some other people out there
making thier own helmets, but I have yet to see one up close to say for
sure if they're better.
Some
people like to modify thier helmets to get them to look better, or fit
better. Obi Wan has
a great tutorial, as does TB-312.
Cloth
Parts:
Pants
and Top - For the undersuit,
we're using Black BDU's from Out In Style
($40.00).
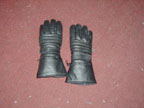
Gloves
- We're using gloves
from Biker Leather.
Item # BGL 2066 ($20.00).
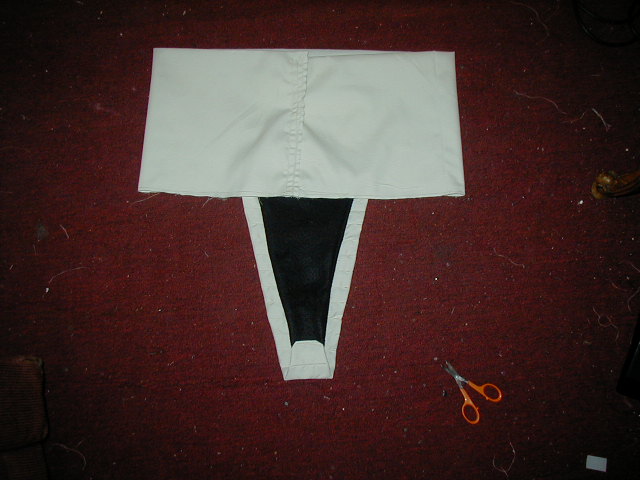
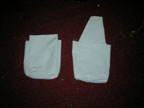
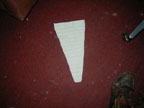
Pouches
- Custom made.
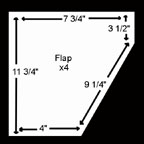
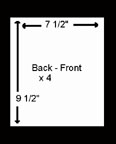
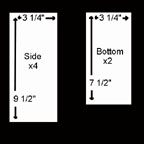
Above
are the patterns I used. I can't sew worth a damn, and I was able to assemble
2 really awesome looking pouches in under an hour!
Cut
out all the above patters to the right sizes on thick, white material.
Sew the parts together inside out, and when you pull it right way out,
viola!! You'll have an awesome pouch!
Special
thanks to Mary Alice for coming up with these patterns for me.
Cod
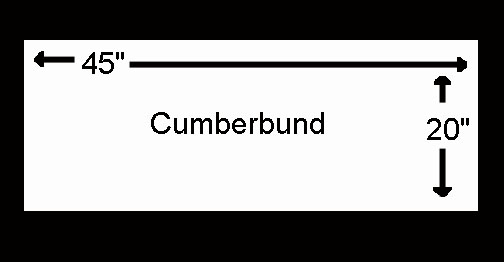
and Cumberbund - Custom made.
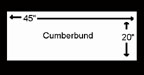


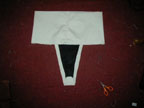
After
you cut out your patterns, fold the Cumberbund in half and sew it closed.
Sew in Velcro at each end to close it.
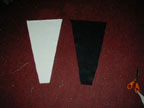
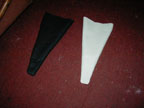
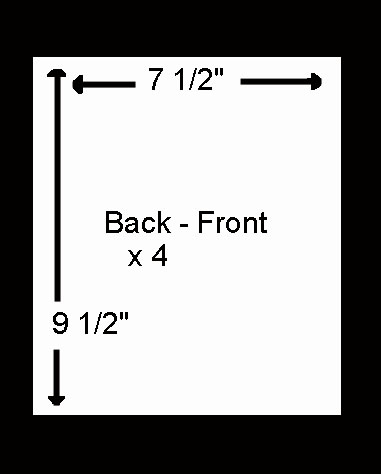
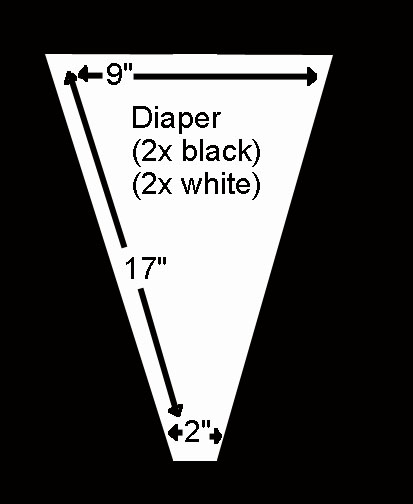
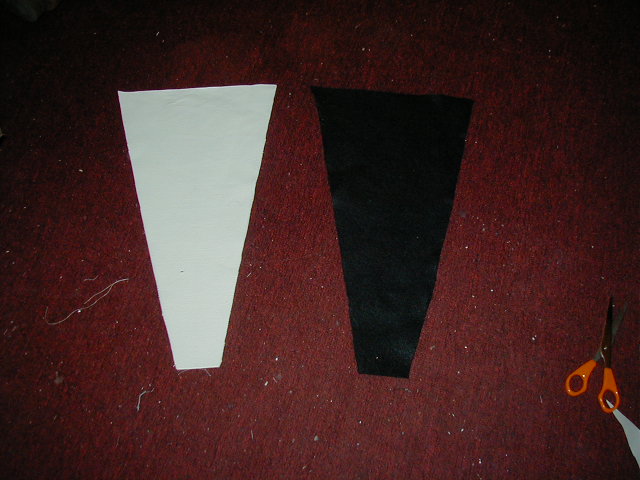
Cut
out the Diaper parts (2 each in black and white). Sew the 2 whites together,
and the 2 blacks together, then pull them inside out.
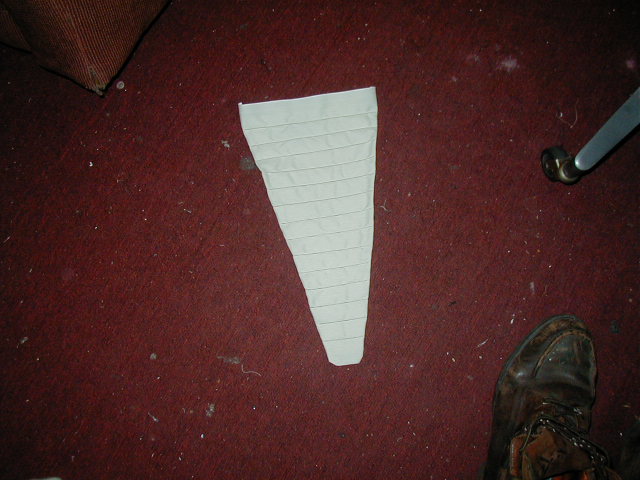
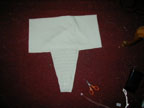
I
sewed in the quilting by placing some scrap Fleece inside the Diaper.
My quilts are 1" apart.
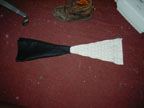

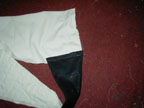
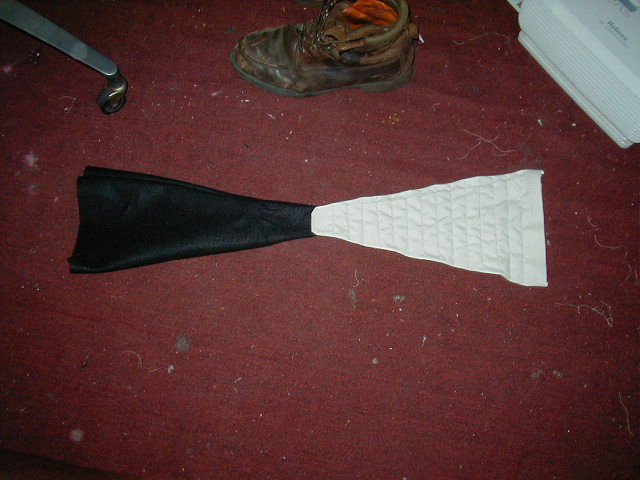
Sew
the black and white Diaper parts together, then sew them into the Cumberbund.
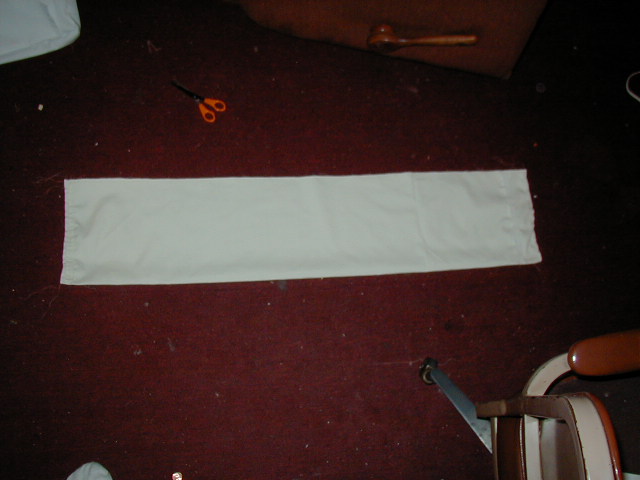
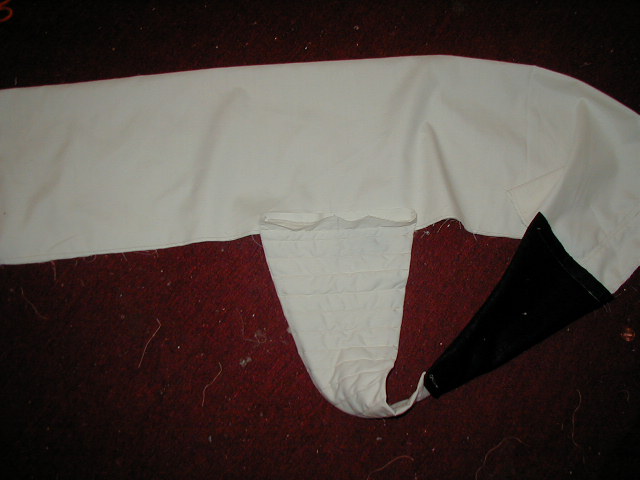
Here's
the back and front of my completed Cumberbund and Diaper combo.
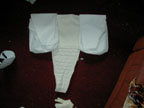
Sew
the pouches to the cumberbund, and you're all set!
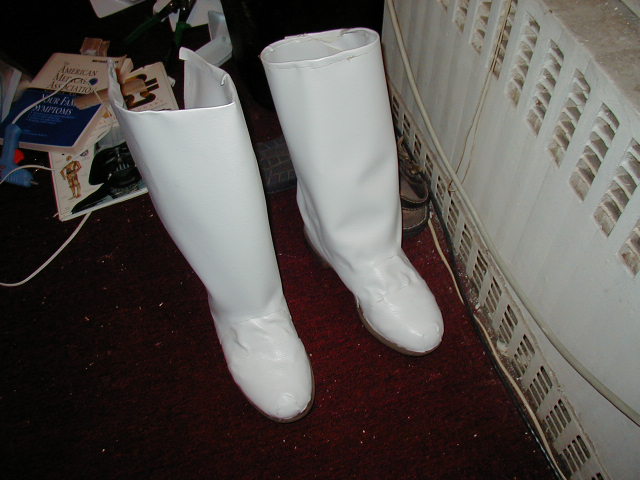
Boots
- Custom made. TB
312 has a great tutorial on making boots. And Monkey
in a Dryer has some great info on boots as well.
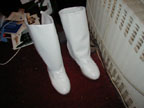
Here
are my boots almost finished....
Other
Parts:
There
are other parts that can be picked for your Biker Scout Costume. Things
like a Biker Scout Blaster, an ankle holster for your Blaster, a full
belt set-up, or a detail part for the top of the intake tank. All of these
parts (and probably more) can be picked up from my good friend Lance.
Tell him Spat sent you (though he may double the price if you do).
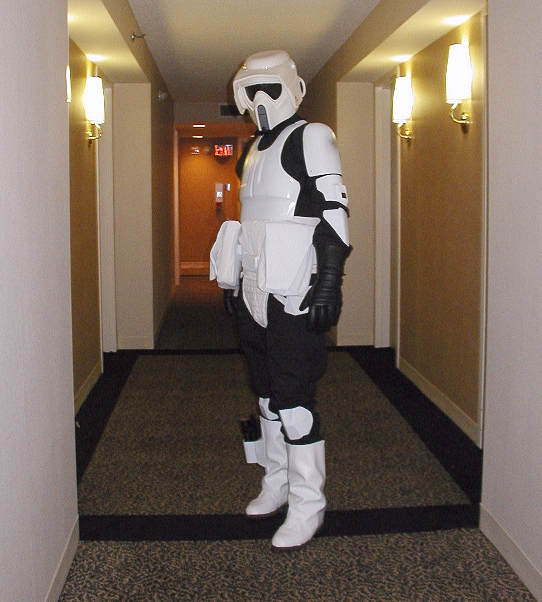
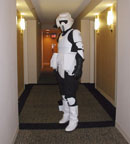
And
here's my completed suit that was debuted at Chiller Theatre!!
For
additional info and reference photos check out Obi
Wan's Jedi Academy.
If
you have any questions, E-Mail me. Spat@spatcave.com

|